快速开始
以下是安装 Immich 并体验它的一个快速、无选择的路径。 试用后,您可以选择许多其他方法 来安装和使用它。
系统要求
- 一台至少具有 4GB 内存和 2 个 CPU 内核的系统。
- Docker
有关更详细的系统要求,请查看 系统要求页面。
设置服务器
Step 1 - Download the required files
Create a directory of your choice (e.g. ./immich-app) to hold the docker-compose.yml and .env files.
mkdir ./immich-app
cd ./immich-app
Download docker-compose.yml and example.env by running the following commands:
wget -O docker-compose.yml https://github.com/immich-app/immich/releases/latest/download/docker-compose.yml
wget -O .env https://github.com/immich-app/immich/releases/latest/download/example.env
You can alternatively download these two files from your browser and move them to the directory that you created, in which case ensure that you rename example.env to .env.
Step 2 - Populate the .env file with custom values
# You can find documentation for all the supported env variables at https://immich.app/docs/install/environment-variables

# The location where your uploaded files are stored
UPLOAD_LOCATION=./library

# The location where your database files are stored. Network shares are not supported for the database
DB_DATA_LOCATION=./postgres

# To set a timezone, uncomment the next line and change Etc/UTC to a TZ identifier from this list: https://en.wikipedia.org/wiki/List_of_tz_database_time_zones#List
# TZ=Etc/UTC

# The Immich version to use. You can pin this to a specific version like "v1.71.0"
IMMICH_VERSION=release

# Connection secret for postgres. You should change it to a random password
# Please use only the characters `A-Za-z0-9`, without special characters or spaces
DB_PASSWORD=postgres

# The values below this line do not need to be changed
###################################################################################
DB_USERNAME=postgres
DB_DATABASE_NAME=immich
- Populate
UPLOAD_LOCATIONwith your preferred location for storing backup assets. It should be a new directory on the server with enough free space. - Consider changing
DB_PASSWORDto a custom value. Postgres is not publicly exposed, so this password is only used for local authentication. To avoid issues with Docker parsing this value, it is best to use only the charactersA-Za-z0-9.pwgenis a handy utility for this. - Set your timezone by uncommenting the
TZ=line. - Populate custom database information if necessary.
Step 3 - Start the containers
From the directory you created in Step 1 (which should now contain your customized docker-compose.yml and .env files), run the following command to start Immich as a background service:
docker compose up -d
试用网页版应用
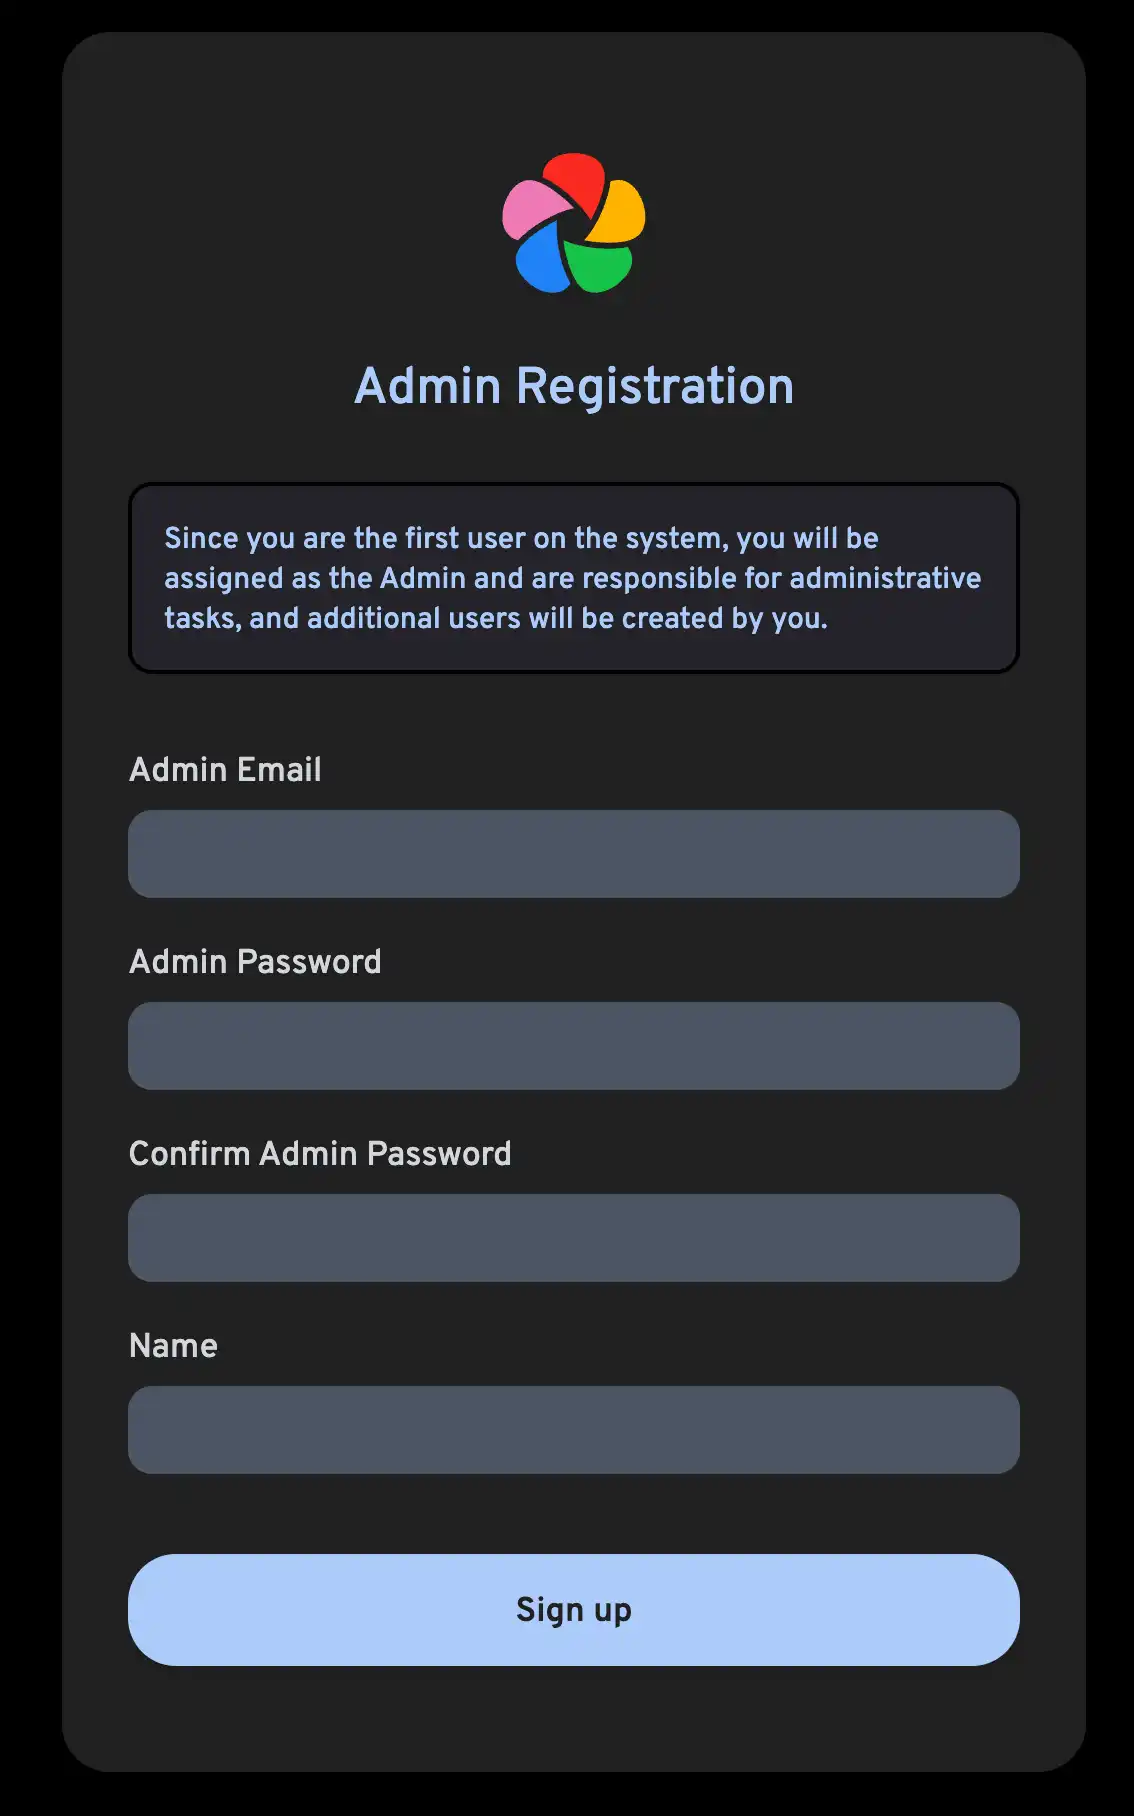
The first user to register will be the admin user. The admin user will be able to add other users to the application.
To register for the admin user, access the web application at http://<machine-ip-address>:2283 and click on the Getting Started button.

Follow the prompts to register as the admin user and log in to the application.
尝试从浏览器上传一张图片。
试用手机版应用
下载手机版应用
The mobile app can be downloaded from the following places:
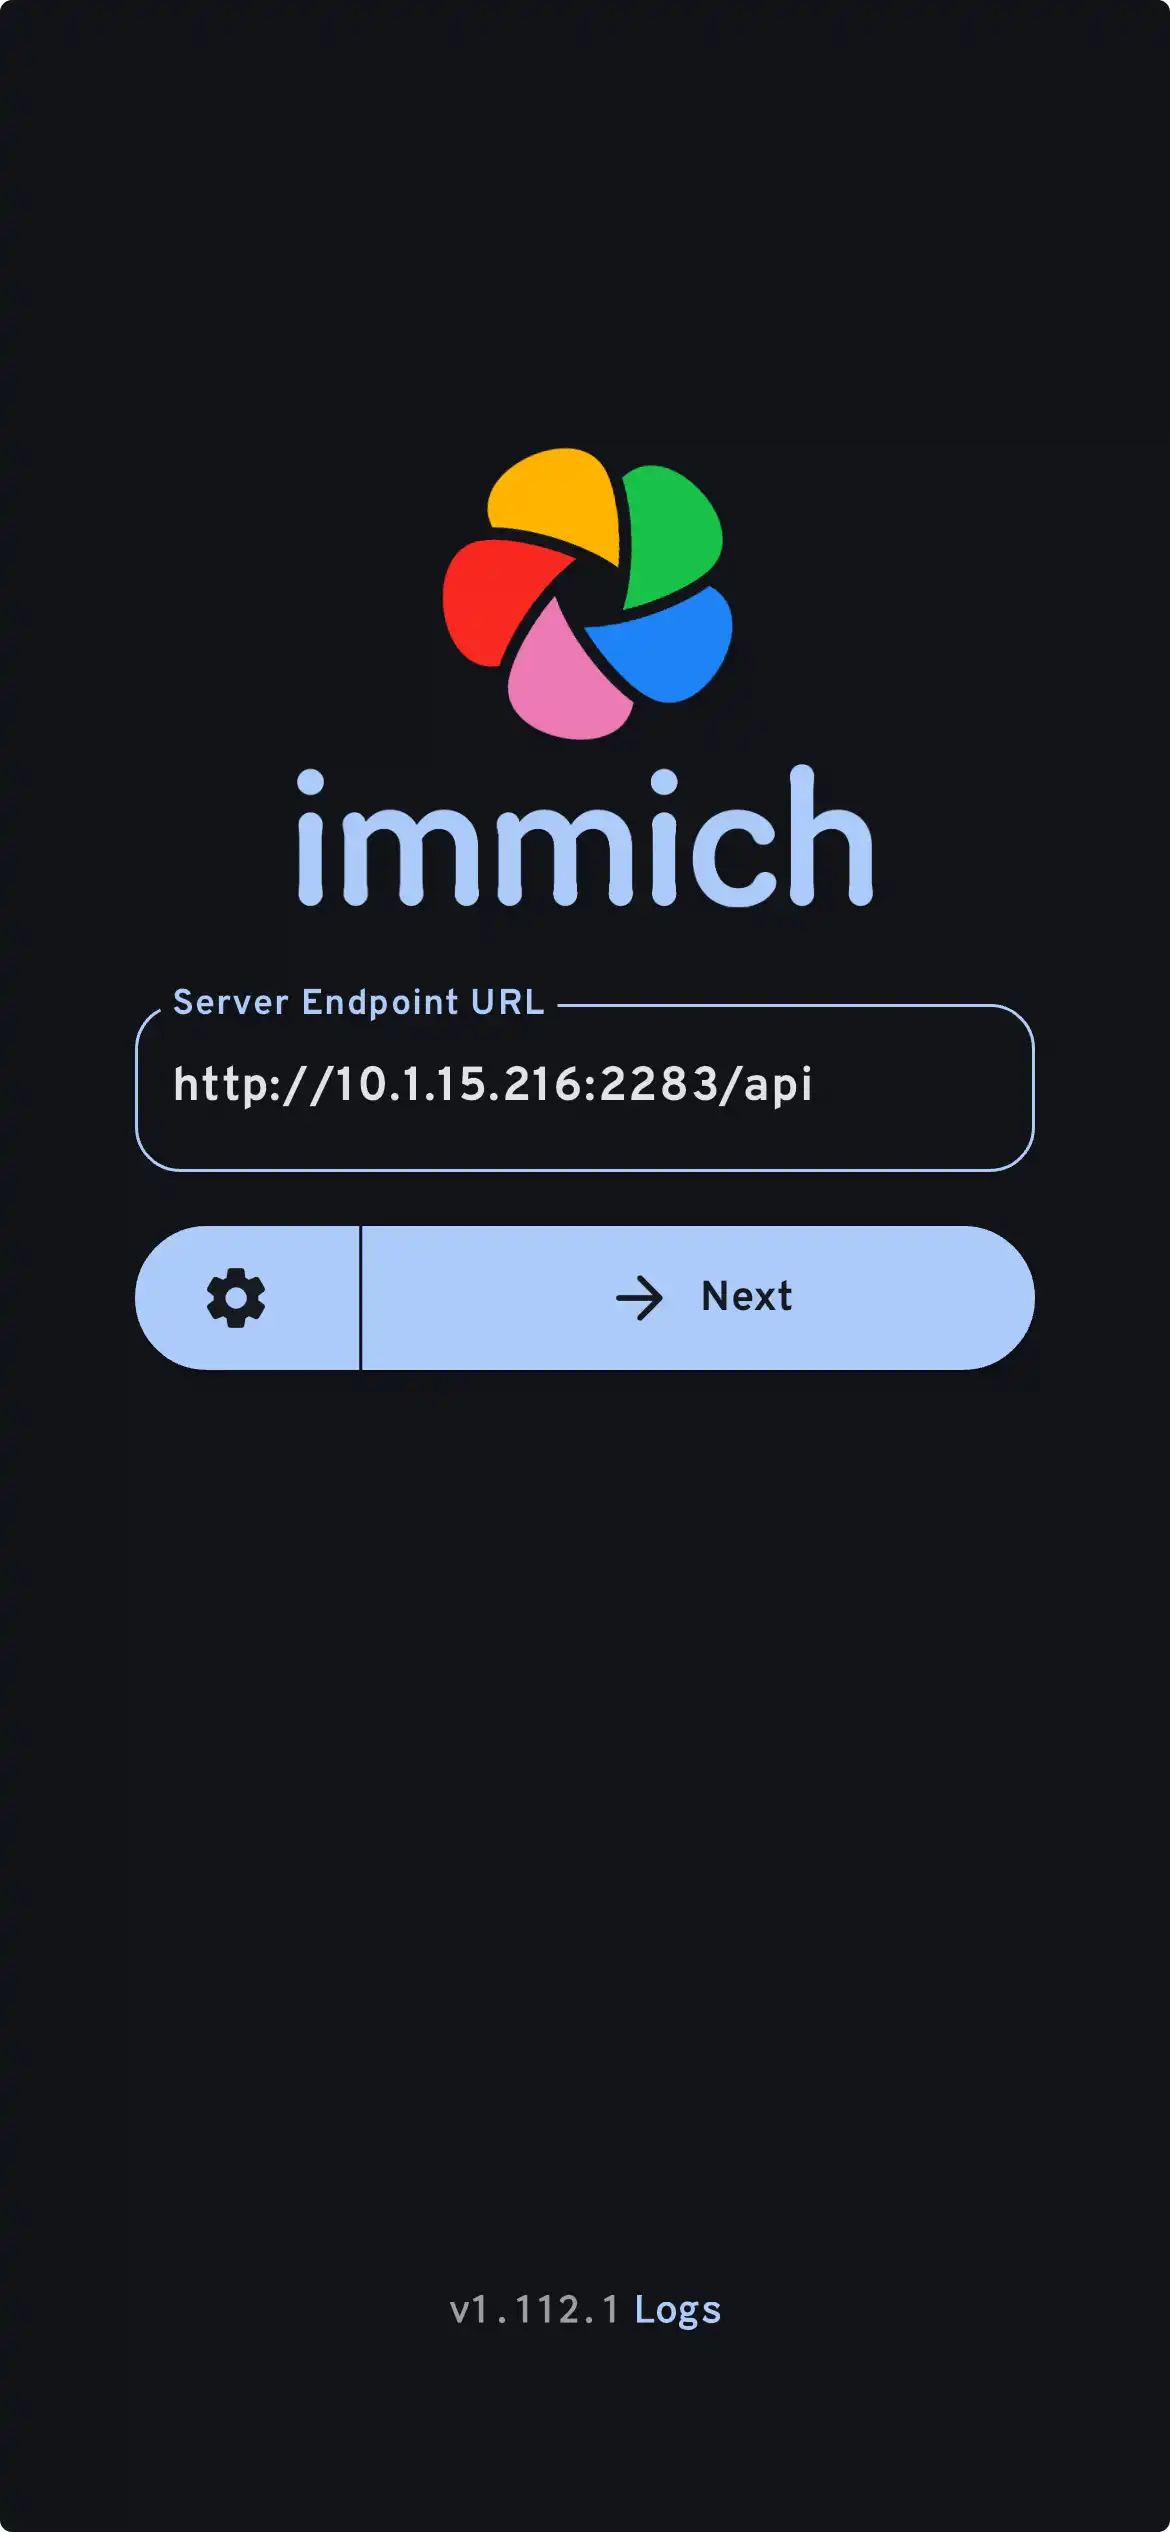
登录手机版应用
Login to the mobile app with the server endpoint URL at http://<machine-ip-address>:2283

在手机版应用中,您应该可以看到从网页版上传的照片。
从移动设备传输照片
- Navigate to the backup screen by clicking on the cloud icon in the top right corner of the screen.
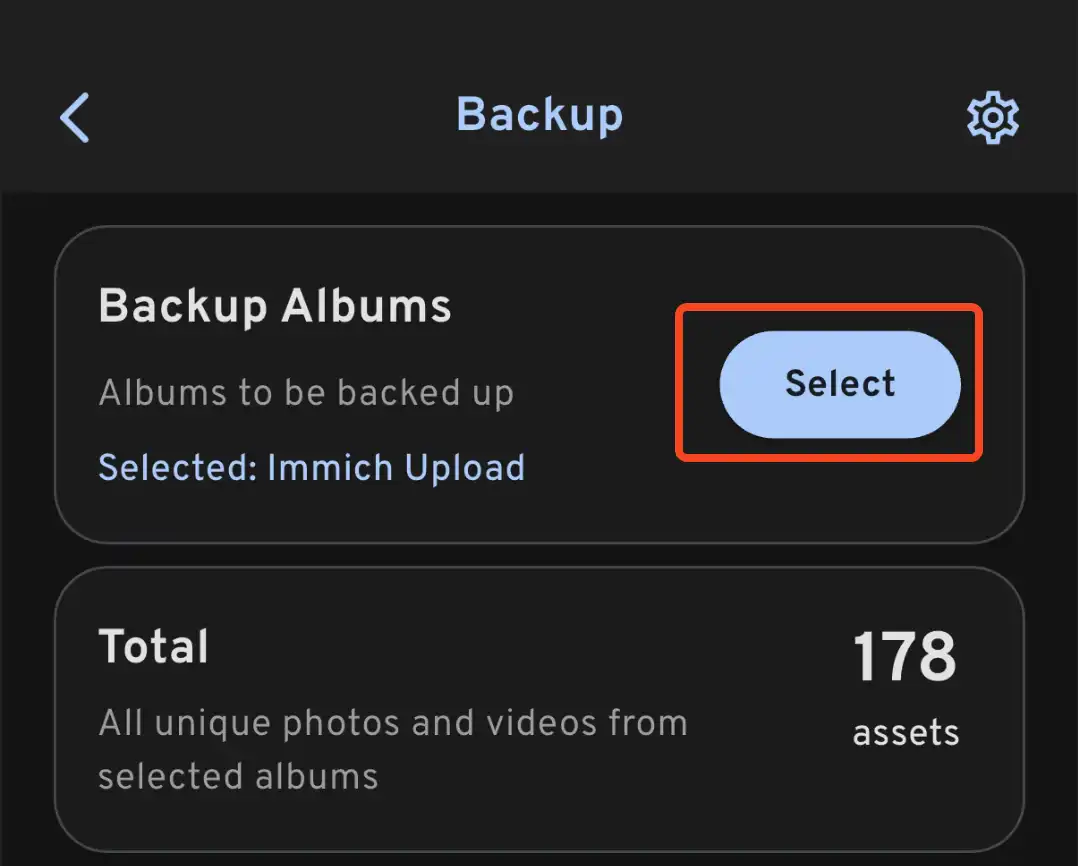
- You can select which album(s) you want to back up to the Immich server from the backup screen.

- Scroll down to the bottom and press "Start Backup" to start the backup process. This will upload all the assets in the selected albums.
备份所需的时间取决于您的移动设备上的照片数量。大批量上传可能需要较长时间。 为了快速入门,您可以通过此 指南 首先选择性上传几张照片。
您可以选择 Jobs 标签,查看 Immich 正在处理您的照片。
查看数据库备份和恢复流程
Immich 内置了数据库备份功能。您可以参考 数据库备份页面 了解更多信息。
数据库仅包含元数据和用户信息。您必须手动备份存储在 UPLOAD_LOCATION 中的图像和视频。
接下来做什么?
您可能会决定以其他方式安装服务器;左侧菜单中的安装类别提供了多种选项。
您可能会决定将 Google 照片中所有的照片(包括不在您移动设备上的照片)添加到服务器,通过 Google Takeout 完成。您可以使用 immich-go 来实现。
您可能希望 从您自己的存档中上传照片。
您可能希望将已有的照片存档集成到 外部库 中;这里有一个 指南。
您可能希望您的移动设备 自动备份照片到服务器。