Démarrage rapide
Voici une méthode rapide et sans choix pour installer Immich et l'essayer. Une fois que vous l'aurez essayé, vous pourrez utiliser l'une des nombreuses autres façons de l'installer et de l'utiliser.
Exigences
- Un système avec au moins 4 Go de RAM et 2 cœurs CPU.
- Docker
Pour une liste plus détaillée des exigences, consultez la page des exigences.
Configuration du serveur
Step 1 - Download the required files
Create a directory of your choice (e.g. ./immich-app) to hold the docker-compose.yml and .env files.
mkdir ./immich-app
cd ./immich-app
Download docker-compose.yml and example.env by running the following commands:
wget -O docker-compose.yml https://github.com/immich-app/immich/releases/latest/download/docker-compose.yml
wget -O .env https://github.com/immich-app/immich/releases/latest/download/example.env
You can alternatively download these two files from your browser and move them to the directory that you created, in which case ensure that you rename example.env to .env.
Step 2 - Populate the .env file with custom values
# You can find documentation for all the supported env variables at https://immich.app/docs/install/environment-variables

# The location where your uploaded files are stored
UPLOAD_LOCATION=./library

# The location where your database files are stored. Network shares are not supported for the database
DB_DATA_LOCATION=./postgres

# To set a timezone, uncomment the next line and change Etc/UTC to a TZ identifier from this list: https://en.wikipedia.org/wiki/List_of_tz_database_time_zones#List
# TZ=Etc/UTC

# The Immich version to use. You can pin this to a specific version like "v1.71.0"
IMMICH_VERSION=release

# Connection secret for postgres. You should change it to a random password
# Please use only the characters `A-Za-z0-9`, without special characters or spaces
DB_PASSWORD=postgres

# The values below this line do not need to be changed
###################################################################################
DB_USERNAME=postgres
DB_DATABASE_NAME=immich
- Populate
UPLOAD_LOCATIONwith your preferred location for storing backup assets. It should be a new directory on the server with enough free space. - Consider changing
DB_PASSWORDto a custom value. Postgres is not publicly exposed, so this password is only used for local authentication. To avoid issues with Docker parsing this value, it is best to use only the charactersA-Za-z0-9.pwgenis a handy utility for this. - Set your timezone by uncommenting the
TZ=line. - Populate custom database information if necessary.
Step 3 - Start the containers
From the directory you created in Step 1 (which should now contain your customized docker-compose.yml and .env files), run the following command to start Immich as a background service:
docker compose up -d
Essayez l'application web
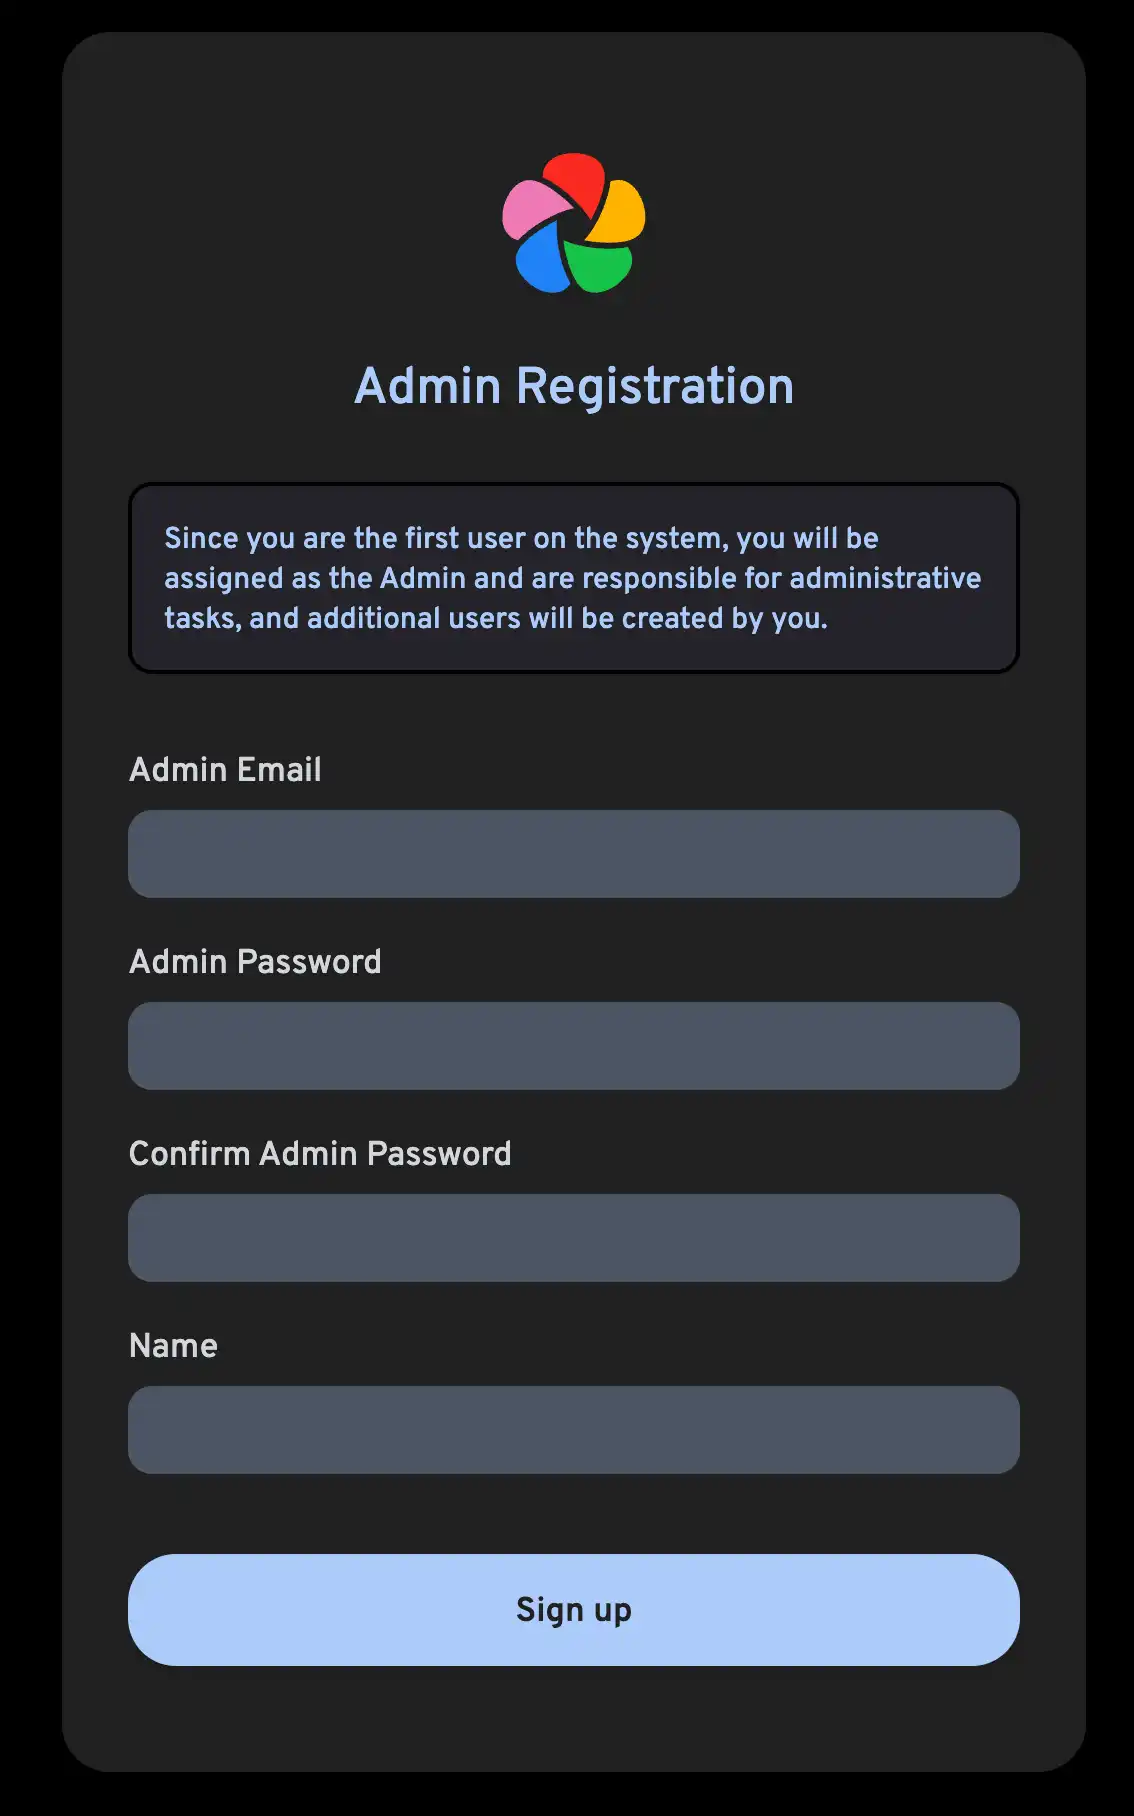
The first user to register will be the admin user. The admin user will be able to add other users to the application.
To register for the admin user, access the web application at http://<machine-ip-address>:2283 and click on the Getting Started button.

Follow the prompts to register as the admin user and log in to the application.
Essayez de télécharger une image depuis votre navigateur.
Essayez l'application mobile
Téléchargez l'application mobile
The mobile app can be downloaded from the following places:
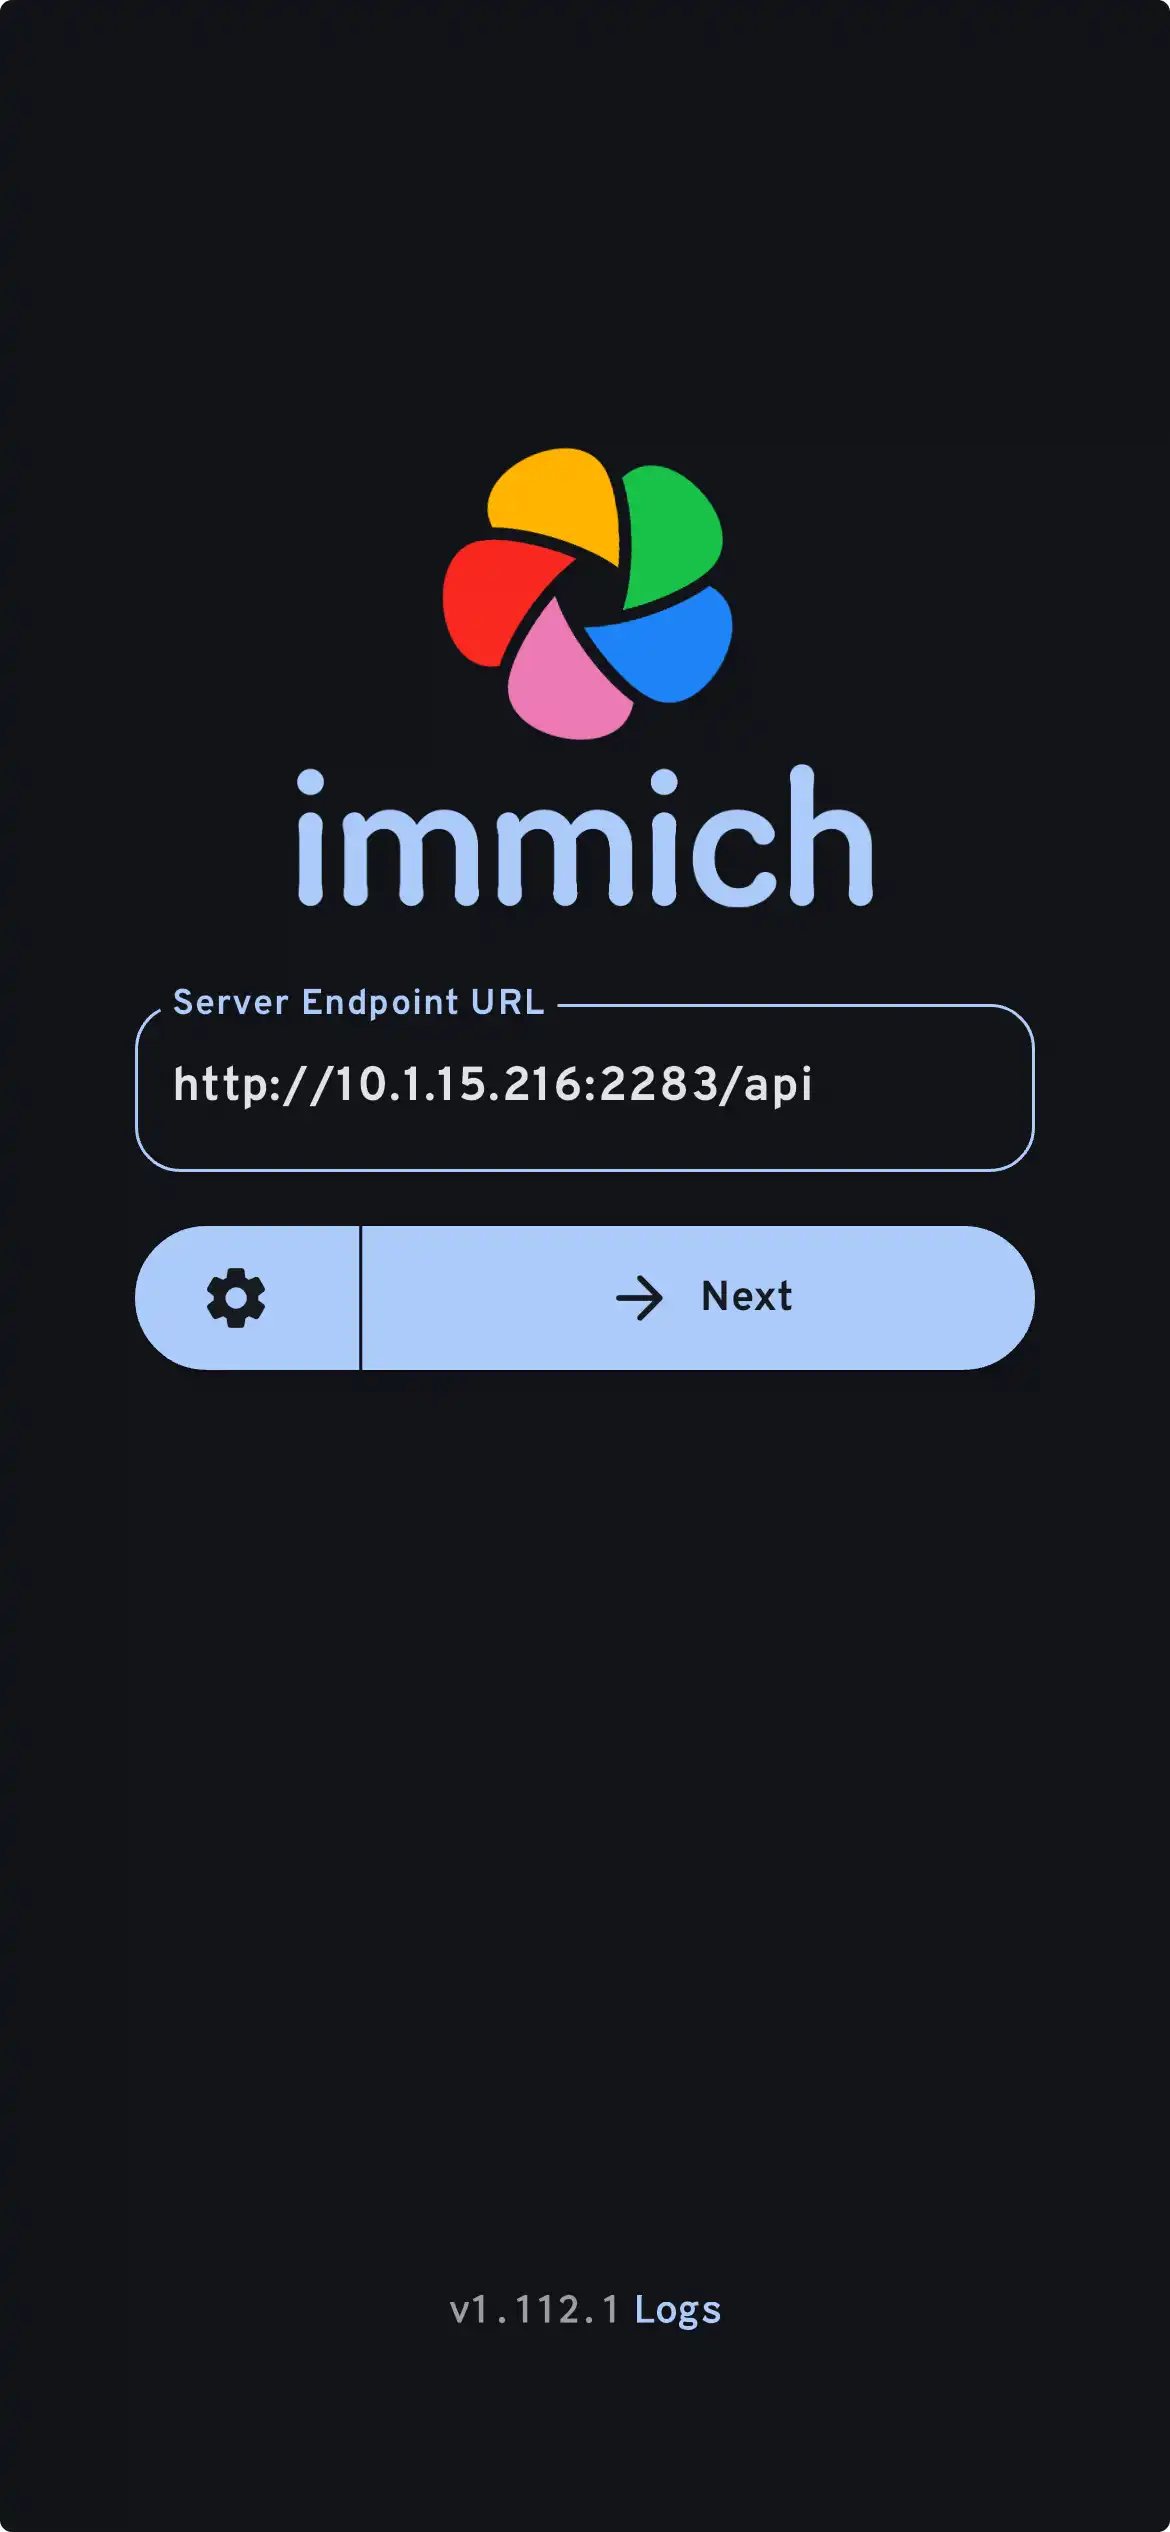
Connectez-vous à l'application mobile
Login to the mobile app with the server endpoint URL at http://<machine-ip-address>:2283

Dans l'application mobile, vous devriez voir la photo que vous avez téléchargée depuis l'interface web.
Transférez des photos depuis votre appareil mobile
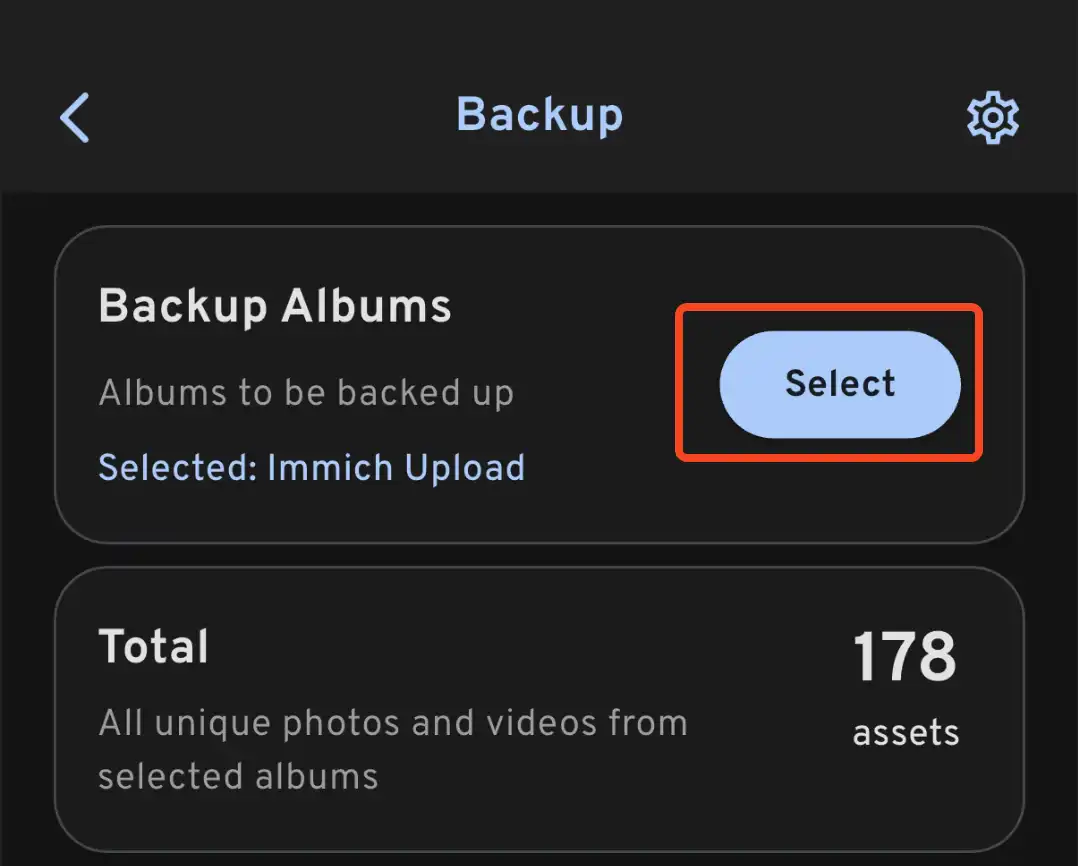
- Navigate to the backup screen by clicking on the cloud icon in the top right corner of the screen.
- You can select which album(s) you want to back up to the Immich server from the backup screen.

- Scroll down to the bottom and press "Start Backup" to start the backup process. This will upload all the assets in the selected albums.
Le temps de sauvegarde varie en fonction du nombre de photos sur votre appareil mobile. Des téléchargements volumineux peuvent prendre un certain temps. Pour commencer rapidement, vous pouvez télécharger quelques photos sélectionnées, en suivant ce guide.
Vous pouvez sélectionner l'onglet Jobs pour voir Immich traiter vos photos.
Examinez le processus de sauvegarde et de restauration de la base de données
Immich dispose de sauvegardes intégrées de la base de données. Vous pouvez vous référer à la sauvegarde de la base de données pour plus d'informations.
La base de données ne contient que des métadonnées et des informations sur les utilisateurs. Vous devez configurer des sauvegardes manuelles pour les images et vidéos stockées dans UPLOAD_LOCATION.
Que faire ensuite ?
Vous pourriez décider d'installer le serveur d'une autre manière ; la catégorie Installation dans le menu de gauche propose de nombreuses options.
Vous pourriez décider d'ajouter le reste de vos photos provenant de Google Photos, même celles qui ne sont pas sur votre appareil mobile, via Google Takeout. Vous pouvez utiliser immich-go pour cela.
Vous pourriez vouloir télécharger des photos depuis vos propres archives.
Vous pourriez vouloir intégrer une archive préexistante de photos depuis une bibliothèque externe ; un guide est disponible.
Vous pourriez vouloir que votre appareil mobile sauvegarde automatiquement vos photos sur votre serveur.