Início rápido
Aqui está um caminho rápido, sem escolhas, para instalar o Immich e testá-lo. Depois de experimentá-lo, você pode usar uma das muitas outras formas de instalá-lo e utilizá-lo.
Requisitos
- Um sistema com pelo menos 4GB de RAM e 2 núcleos de CPU.
- Docker
Para uma lista mais detalhada de requisitos, veja a página de requisitos.
Configure o servidor
Step 1 - Download the required files
Create a directory of your choice (e.g. ./immich-app) to hold the docker-compose.yml and .env files.
mkdir ./immich-app
cd ./immich-app
Download docker-compose.yml and example.env by running the following commands:
wget -O docker-compose.yml https://github.com/immich-app/immich/releases/latest/download/docker-compose.yml
wget -O .env https://github.com/immich-app/immich/releases/latest/download/example.env
You can alternatively download these two files from your browser and move them to the directory that you created, in which case ensure that you rename example.env to .env.
Step 2 - Populate the .env file with custom values
# You can find documentation for all the supported env variables at https://immich.app/docs/install/environment-variables

# The location where your uploaded files are stored
UPLOAD_LOCATION=./library

# The location where your database files are stored. Network shares are not supported for the database
DB_DATA_LOCATION=./postgres

# To set a timezone, uncomment the next line and change Etc/UTC to a TZ identifier from this list: https://en.wikipedia.org/wiki/List_of_tz_database_time_zones#List
# TZ=Etc/UTC

# The Immich version to use. You can pin this to a specific version like "v1.71.0"
IMMICH_VERSION=release

# Connection secret for postgres. You should change it to a random password
# Please use only the characters `A-Za-z0-9`, without special characters or spaces
DB_PASSWORD=postgres

# The values below this line do not need to be changed
###################################################################################
DB_USERNAME=postgres
DB_DATABASE_NAME=immich
- Populate
UPLOAD_LOCATIONwith your preferred location for storing backup assets. It should be a new directory on the server with enough free space. - Consider changing
DB_PASSWORDto a custom value. Postgres is not publicly exposed, so this password is only used for local authentication. To avoid issues with Docker parsing this value, it is best to use only the charactersA-Za-z0-9.pwgenis a handy utility for this. - Set your timezone by uncommenting the
TZ=line. - Populate custom database information if necessary.
Step 3 - Start the containers
From the directory you created in Step 1 (which should now contain your customized docker-compose.yml and .env files), run the following command to start Immich as a background service:
docker compose up -d
Experimente o aplicativo web
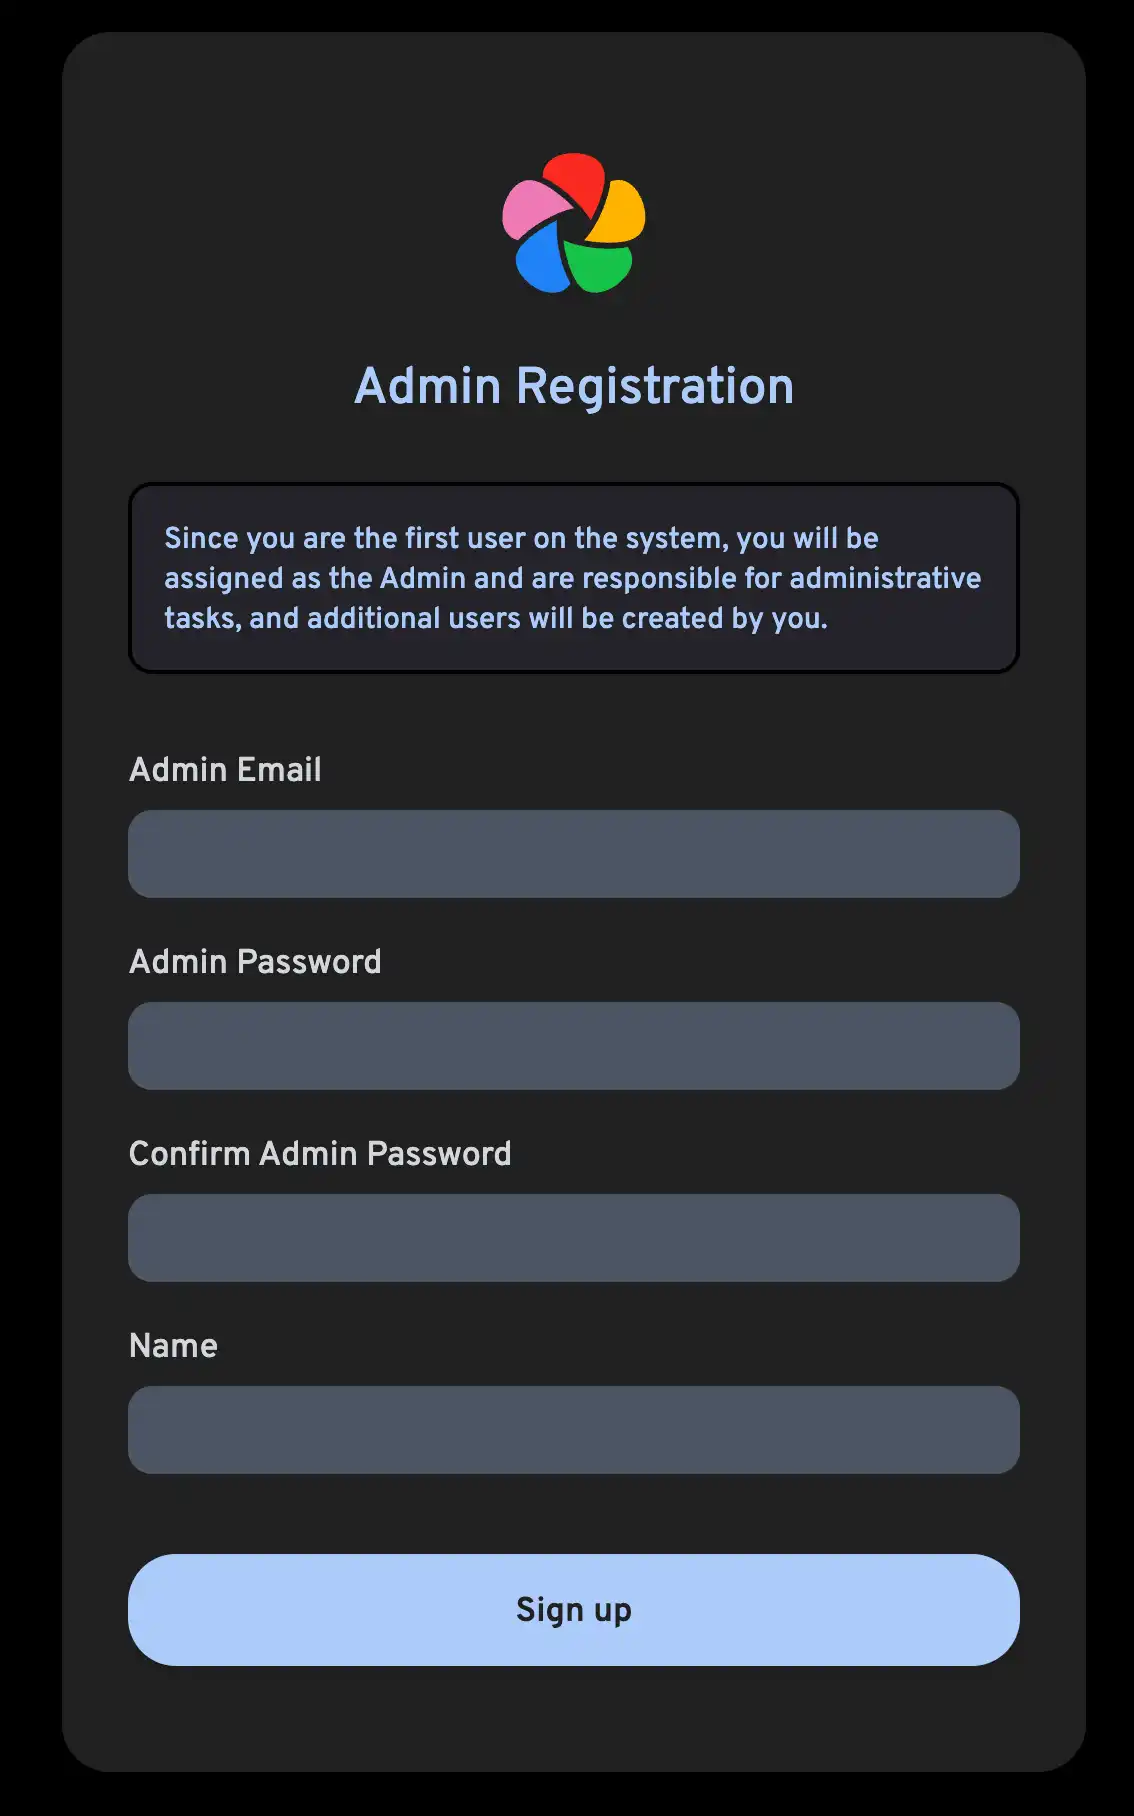
The first user to register will be the admin user. The admin user will be able to add other users to the application.
To register for the admin user, access the web application at http://<machine-ip-address>:2283 and click on the Getting Started button.

Follow the prompts to register as the admin user and log in to the application.
Experimente carregar uma foto do seu navegador.
Experimente o aplicativo para celular
Baixe o aplicativo para celular
The mobile app can be downloaded from the following places:
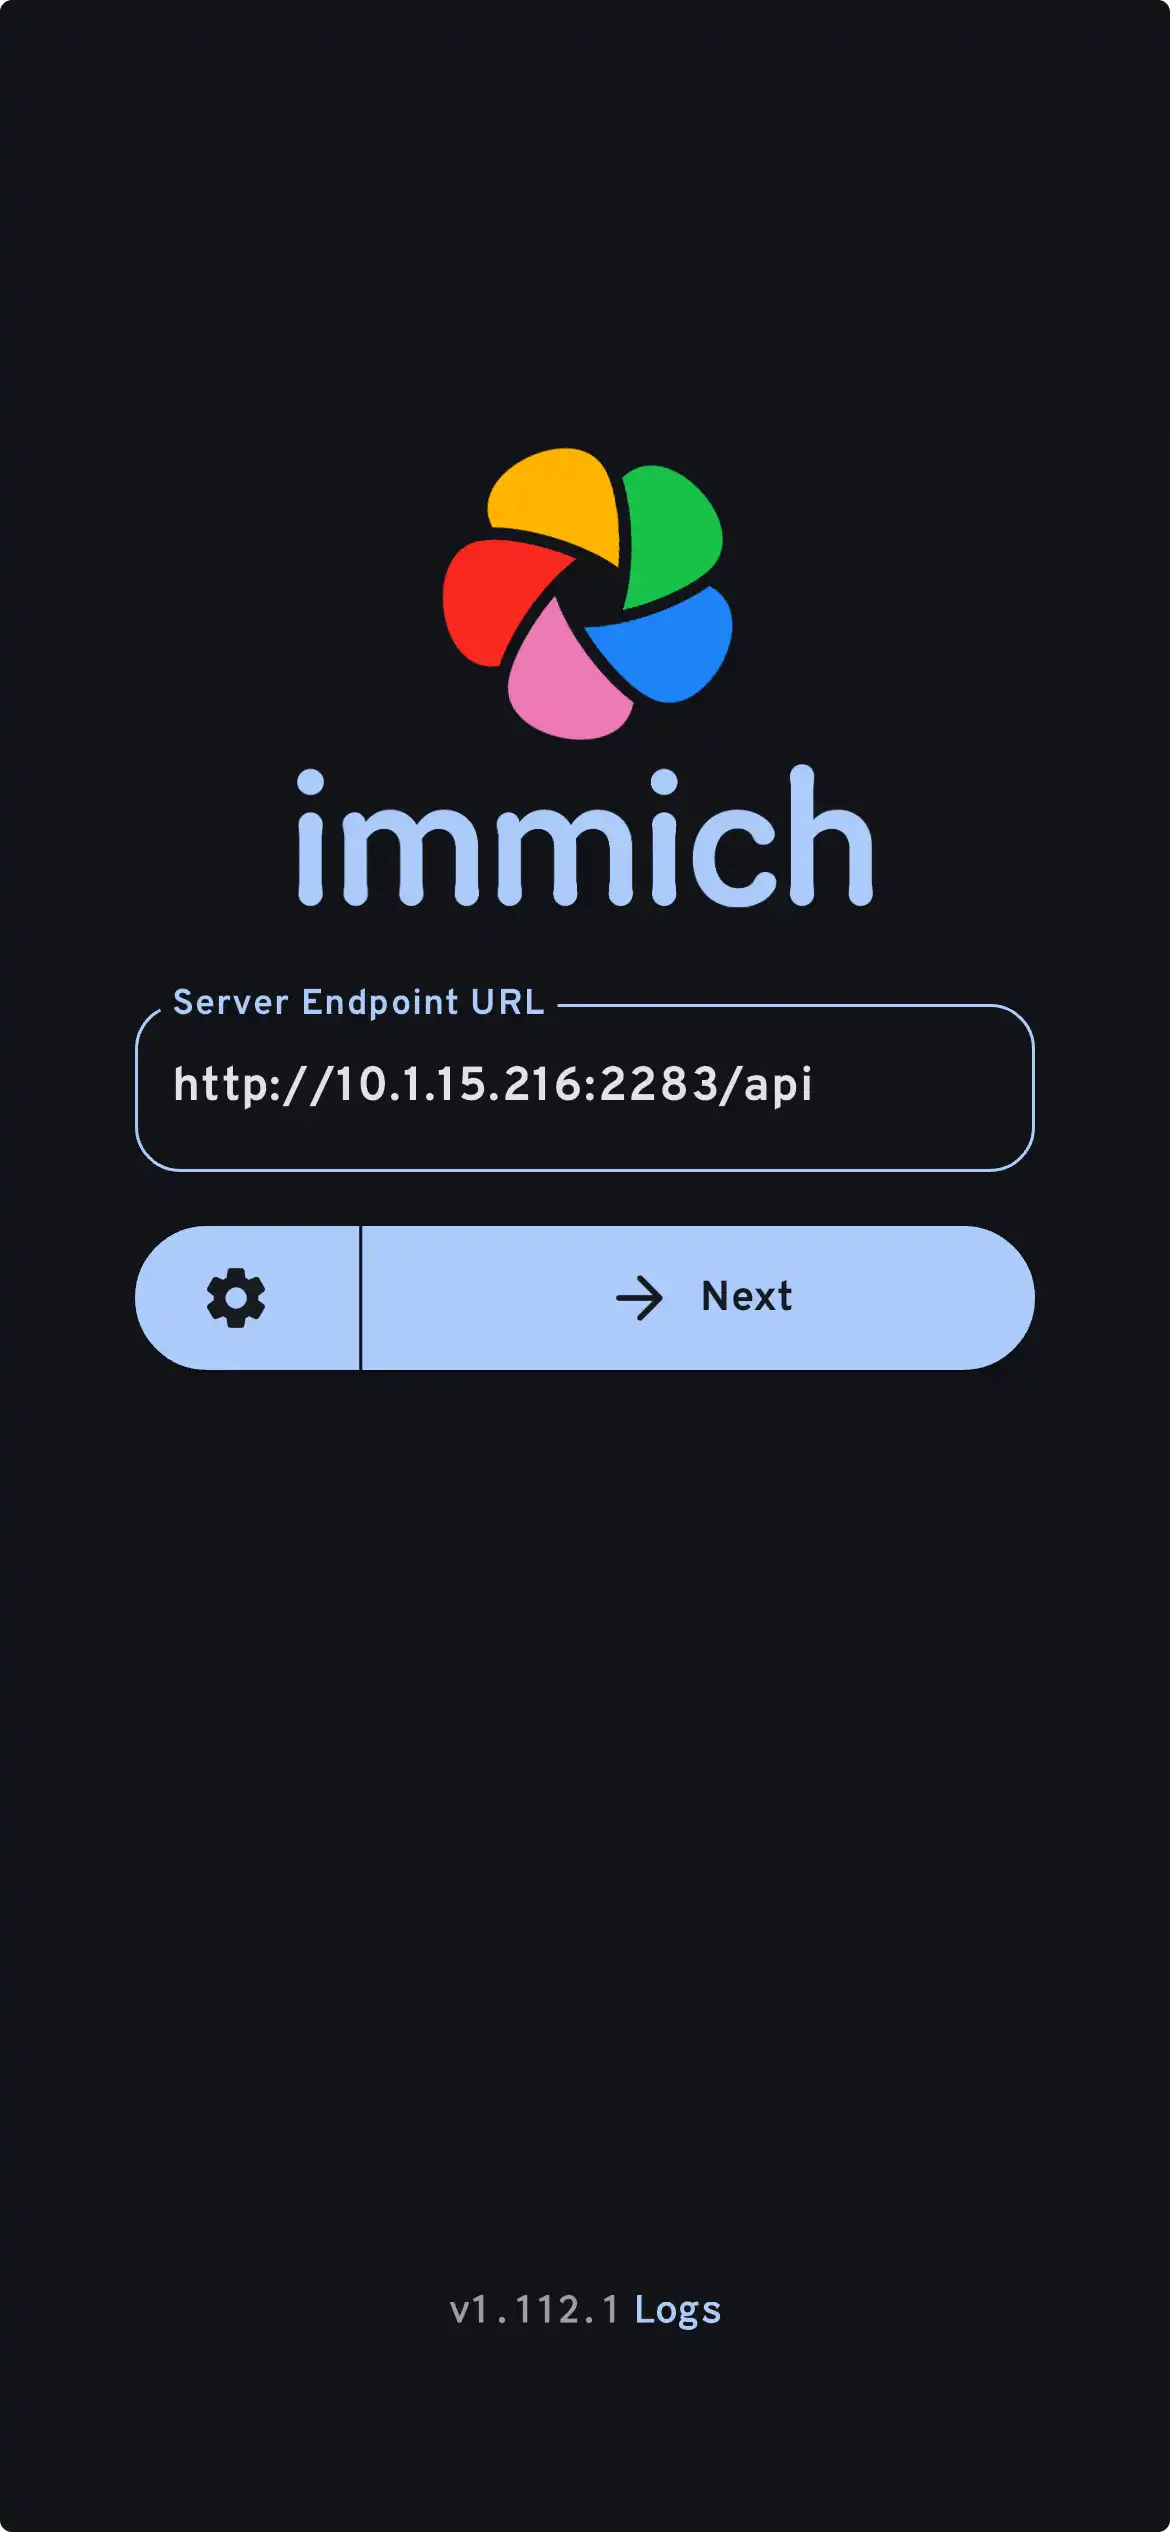
Faça login no aplicativo para celular
Login to the mobile app with the server endpoint URL at http://<machine-ip-address>:2283

No aplicativo para celular, você deve ver a foto que carregou na interface web.
Transfira fotos do seu dispositivo móvel
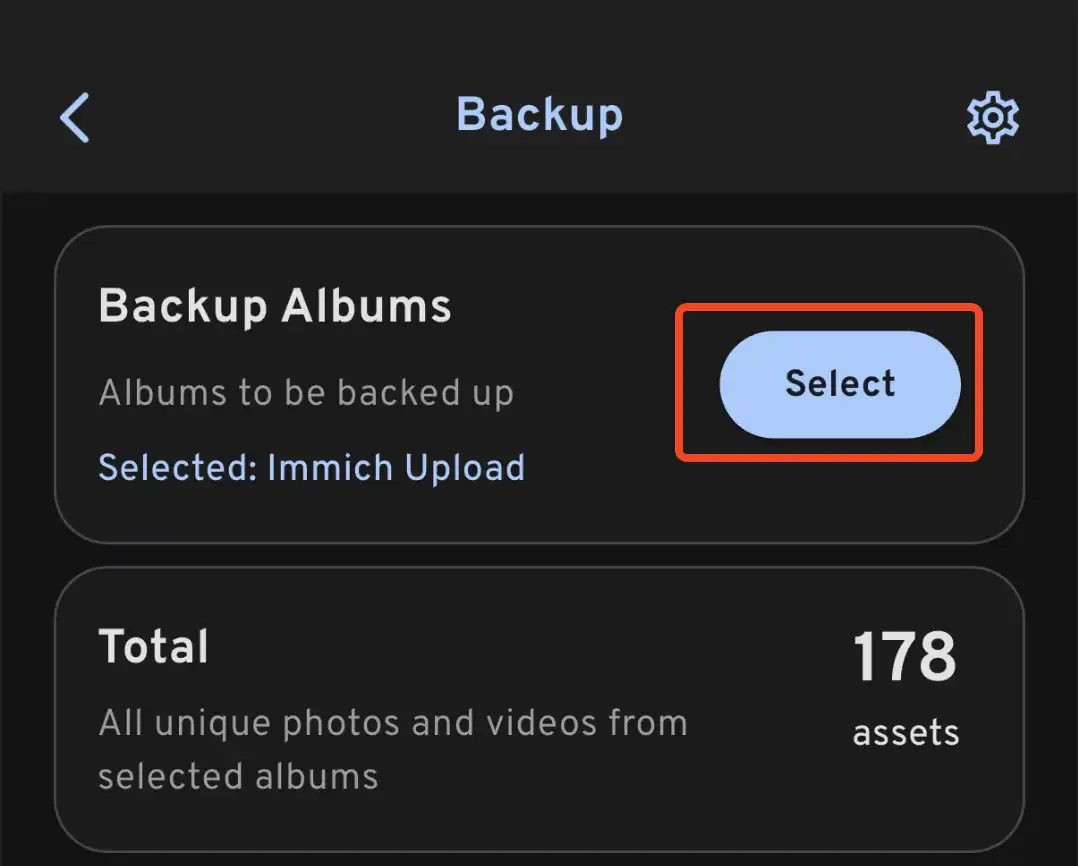
- Navigate to the backup screen by clicking on the cloud icon in the top right corner of the screen.
- You can select which album(s) you want to back up to the Immich server from the backup screen.

- Scroll down to the bottom and press "Start Backup" to start the backup process. This will upload all the assets in the selected albums.
O tempo de backup varia dependendo de quantas fotos há no seu dispositivo móvel. Uploads grandes podem demorar um bom tempo. Para começar rapidamente, você pode carregar seletivamente apenas algumas fotos primeiro, seguindo este guia.
Você pode selecionar a aba Jobs para ver o Immich processando suas fotos.
Revise o processo de backup e restauração do banco de dados
Immich possui backups integrados do banco de dados. Você pode consultar os backups do banco de dados para mais informações.
O banco de dados contém apenas metadados e informações de usuários. Você deve configurar backups manuais das imagens e vídeos armazenados em UPLOAD_LOCATION.
Para onde ir a partir daqui?
Você pode decidir que gostaria de instalar o servidor de uma maneira diferente; a categoria Instalar no menu à esquerda oferece muitas opções.
Você pode decidir que gostaria de adicionar o resto de suas fotos do Google Photos, mesmo aquelas que não estão em seu dispositivo móvel, via Google Takeout. Você pode usar immich-go para isso.
Você pode querer carregar fotos do seu próprio arquivo.
Você pode querer incorporar um arquivo pré-existente de fotos de uma Biblioteca Externa; há um guia para isso.
Você pode configurar seu dispositivo móvel para fazer backup automático de fotos no servidor.