Schnellstart
Hier ist ein schneller, unkomplizierter Weg, um Immich zu installieren und es auszuprobieren. Sobald Sie es ausprobiert haben, können Sie eine der vielen anderen Möglichkeiten nutzen, es zu installieren und zu verwenden.
Voraussetzungen
- Ein System mit mindestens 4GB RAM und 2 CPU-Kernen.
- Docker
Für eine detailliertere Liste der Anforderungen besuchen Sie die Anforderungsseite.
Server einrichten
Step 1 - Download the required files
Create a directory of your choice (e.g. ./immich-app) to hold the docker-compose.yml and .env files.
mkdir ./immich-app
cd ./immich-app
Download docker-compose.yml and example.env by running the following commands:
wget -O docker-compose.yml https://github.com/immich-app/immich/releases/latest/download/docker-compose.yml
wget -O .env https://github.com/immich-app/immich/releases/latest/download/example.env
You can alternatively download these two files from your browser and move them to the directory that you created, in which case ensure that you rename example.env to .env.
Step 2 - Populate the .env file with custom values
# You can find documentation for all the supported env variables at https://immich.app/docs/install/environment-variables

# The location where your uploaded files are stored
UPLOAD_LOCATION=./library

# The location where your database files are stored. Network shares are not supported for the database
DB_DATA_LOCATION=./postgres

# To set a timezone, uncomment the next line and change Etc/UTC to a TZ identifier from this list: https://en.wikipedia.org/wiki/List_of_tz_database_time_zones#List
# TZ=Etc/UTC

# The Immich version to use. You can pin this to a specific version like "v1.71.0"
IMMICH_VERSION=release

# Connection secret for postgres. You should change it to a random password
# Please use only the characters `A-Za-z0-9`, without special characters or spaces
DB_PASSWORD=postgres

# The values below this line do not need to be changed
###################################################################################
DB_USERNAME=postgres
DB_DATABASE_NAME=immich
- Populate
UPLOAD_LOCATIONwith your preferred location for storing backup assets. It should be a new directory on the server with enough free space. - Consider changing
DB_PASSWORDto a custom value. Postgres is not publicly exposed, so this password is only used for local authentication. To avoid issues with Docker parsing this value, it is best to use only the charactersA-Za-z0-9.pwgenis a handy utility for this. - Set your timezone by uncommenting the
TZ=line. - Populate custom database information if necessary.
Step 3 - Start the containers
From the directory you created in Step 1 (which should now contain your customized docker-compose.yml and .env files), run the following command to start Immich as a background service:
docker compose up -d
Probieren Sie die Web-App aus
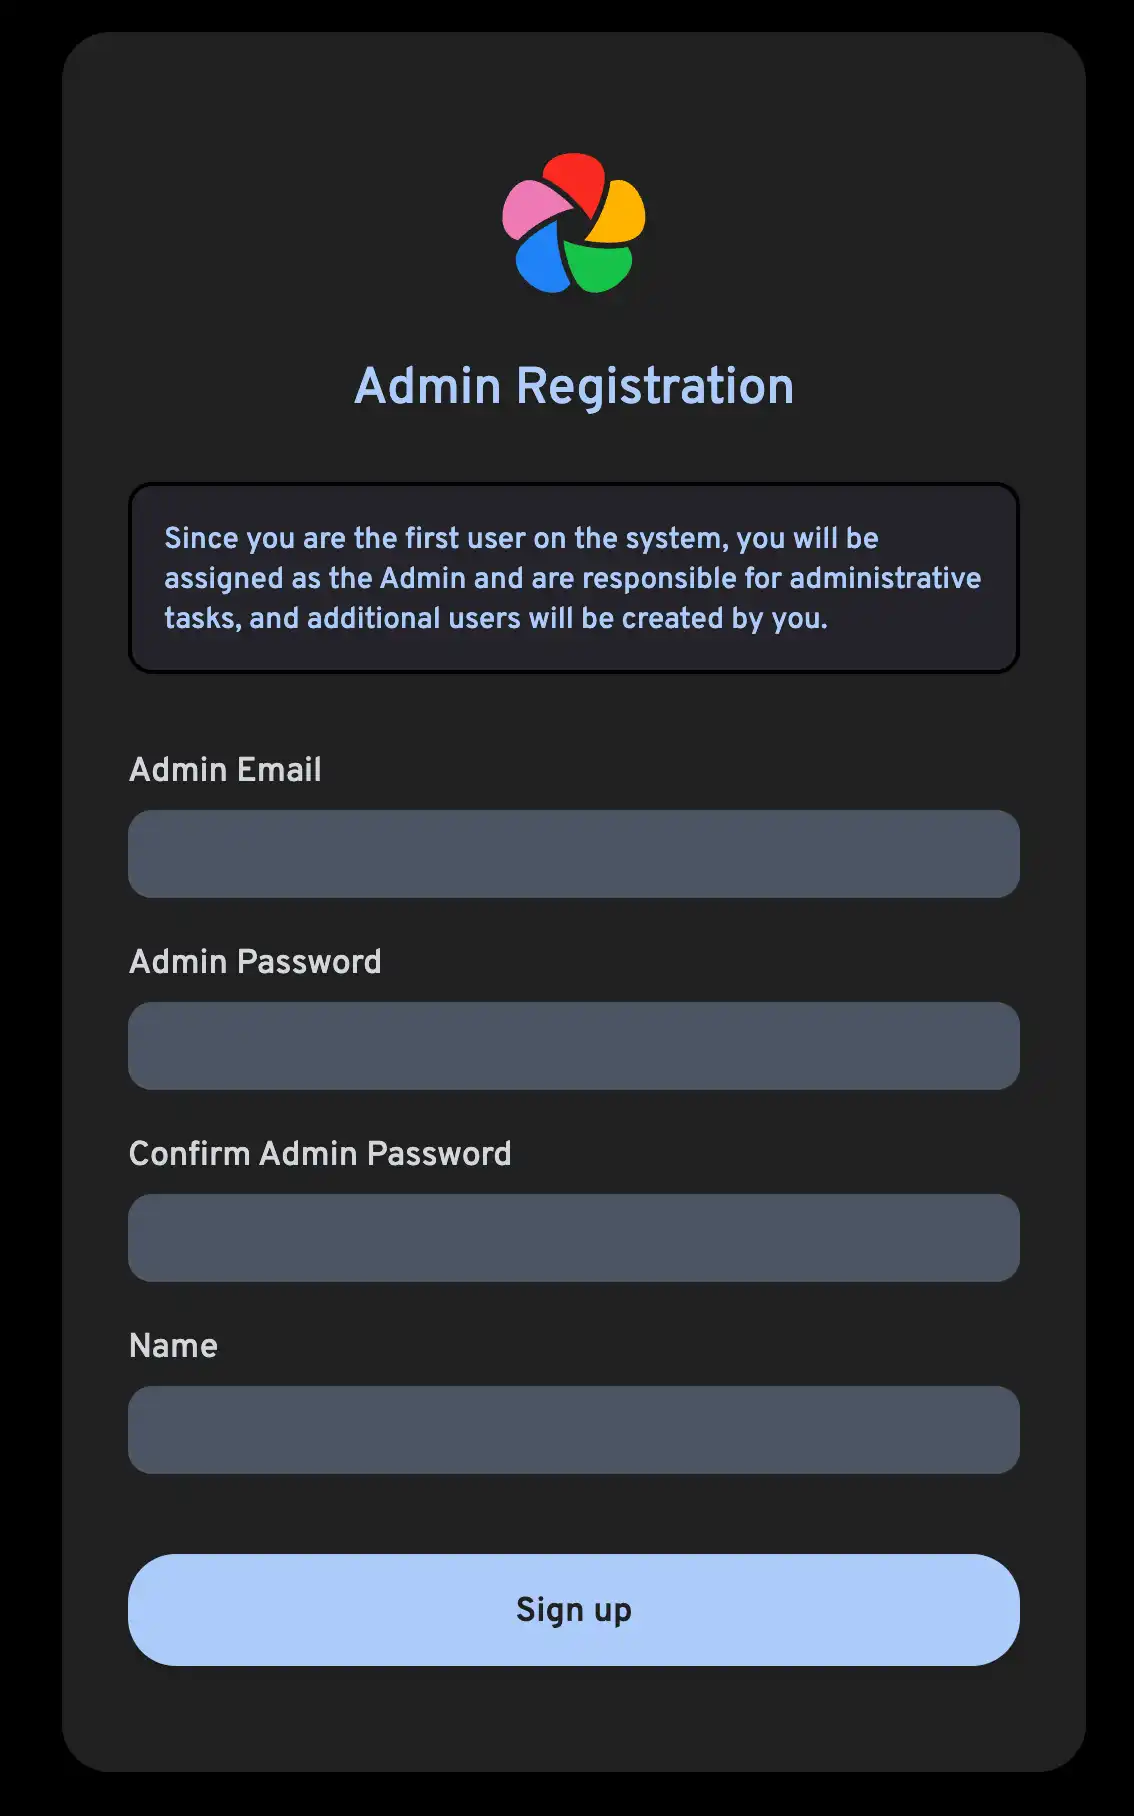
The first user to register will be the admin user. The admin user will be able to add other users to the application.
To register for the admin user, access the web application at http://<machine-ip-address>:2283 and click on the Getting Started button.

Follow the prompts to register as the admin user and log in to the application.
Versuchen Sie, ein Bild von Ihrem Browser hochzuladen.
Probieren Sie die mobile App aus
Mobile App herunterladen
The mobile app can be downloaded from the following places:
Anmelden bei der mobilen App
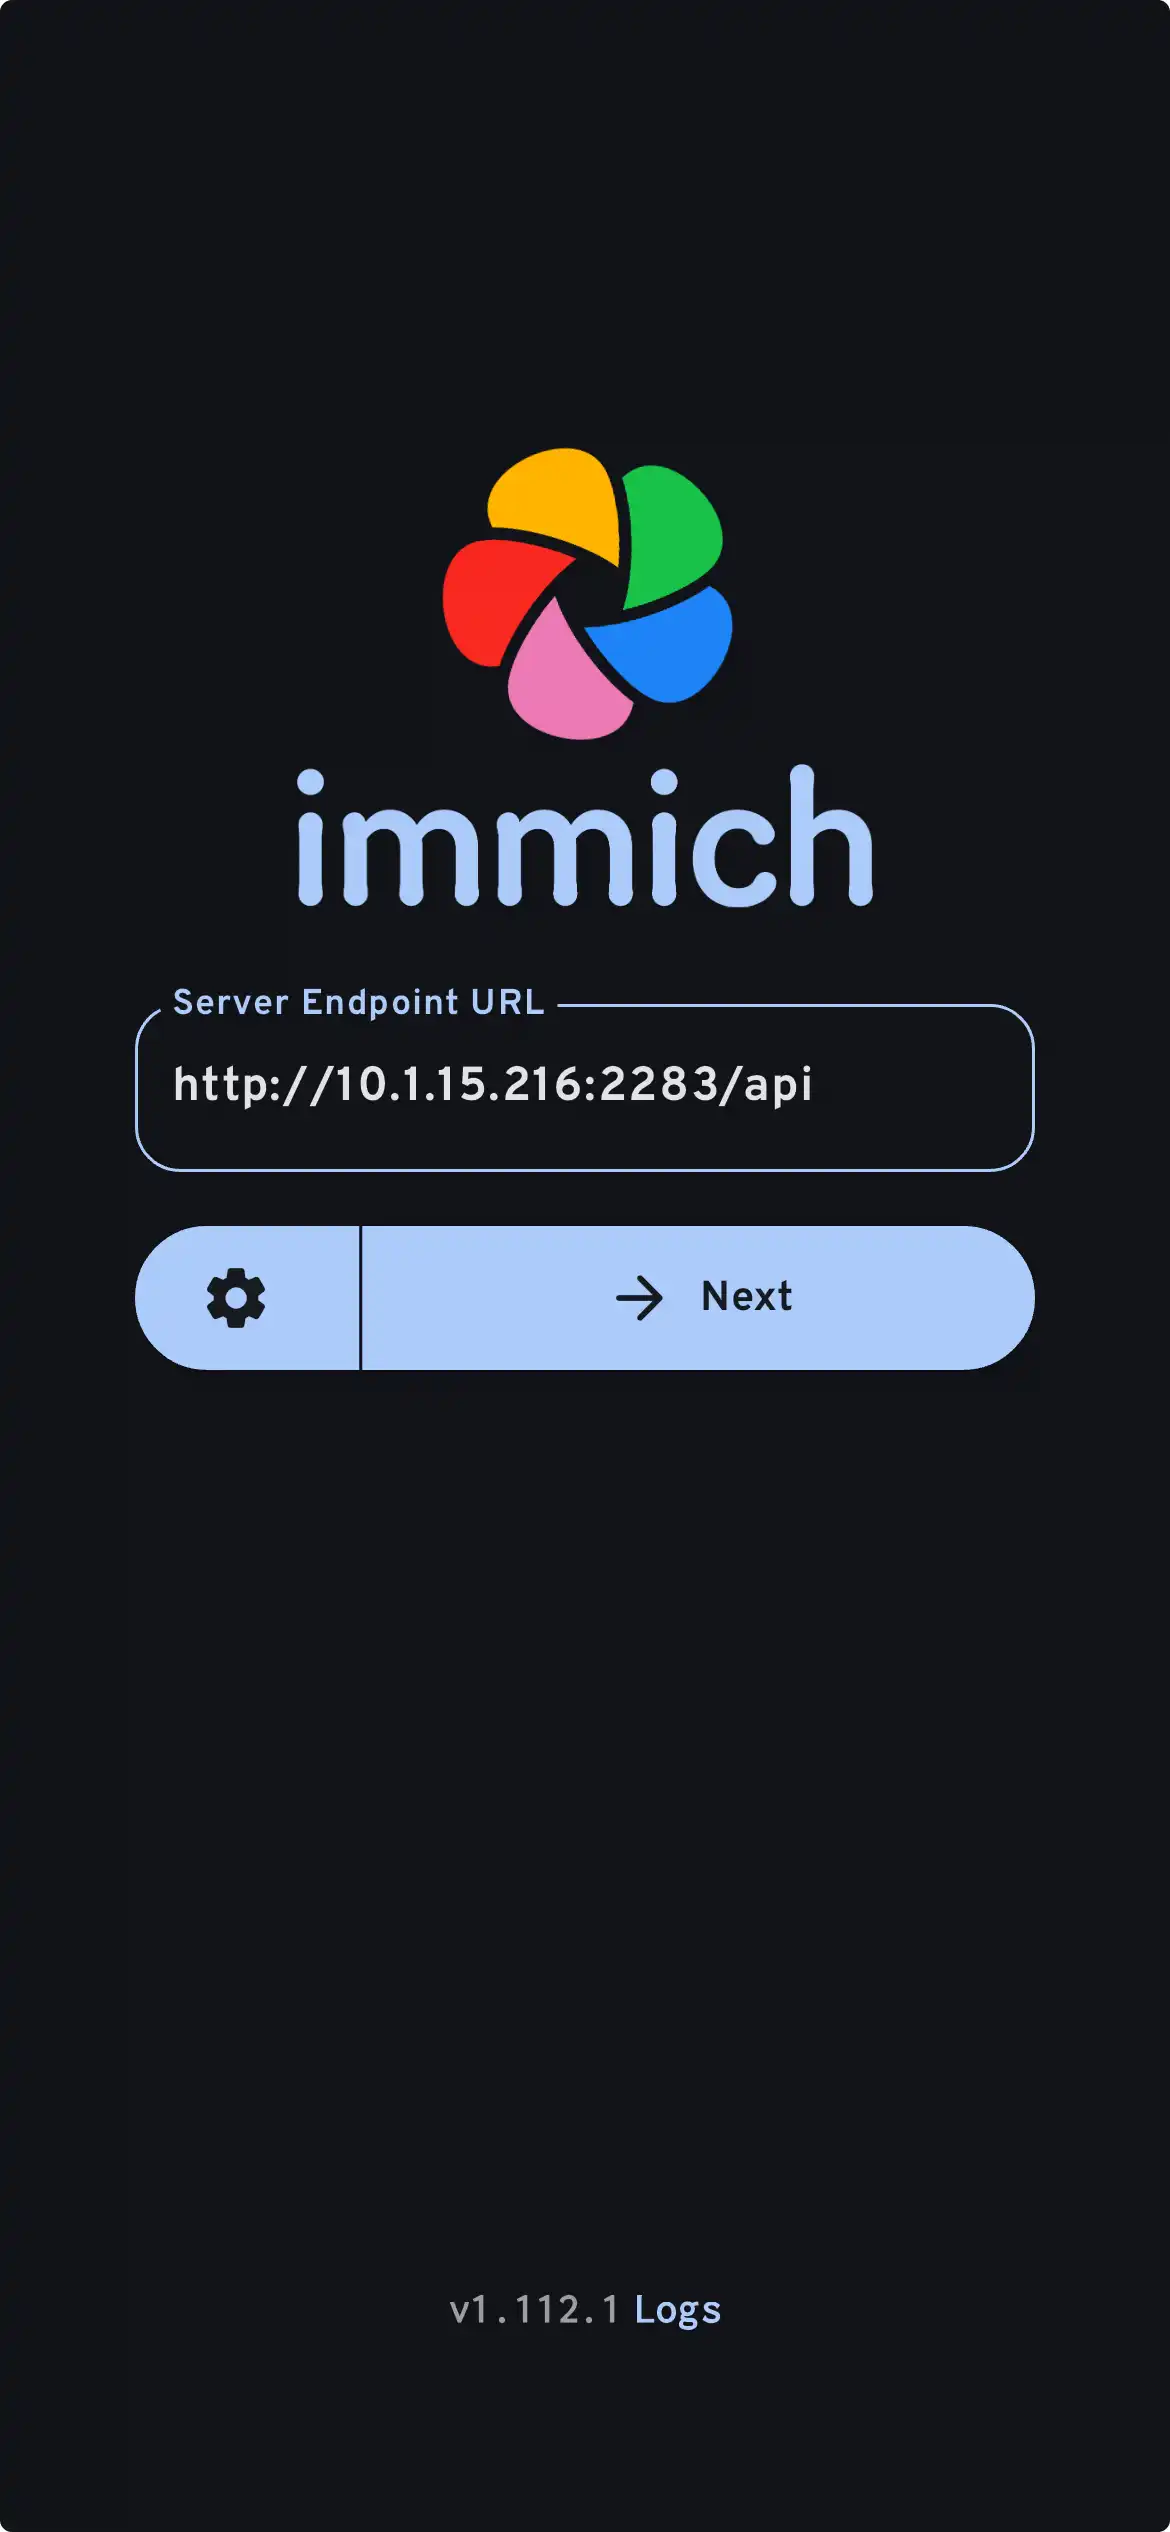
Login to the mobile app with the server endpoint URL at http://<machine-ip-address>:2283

In der mobilen App sollten Sie das Foto sehen, das Sie über die Web-Benutzeroberfläche hochgeladen haben.
Fotos von Ihrem Mobilgerät übertragen
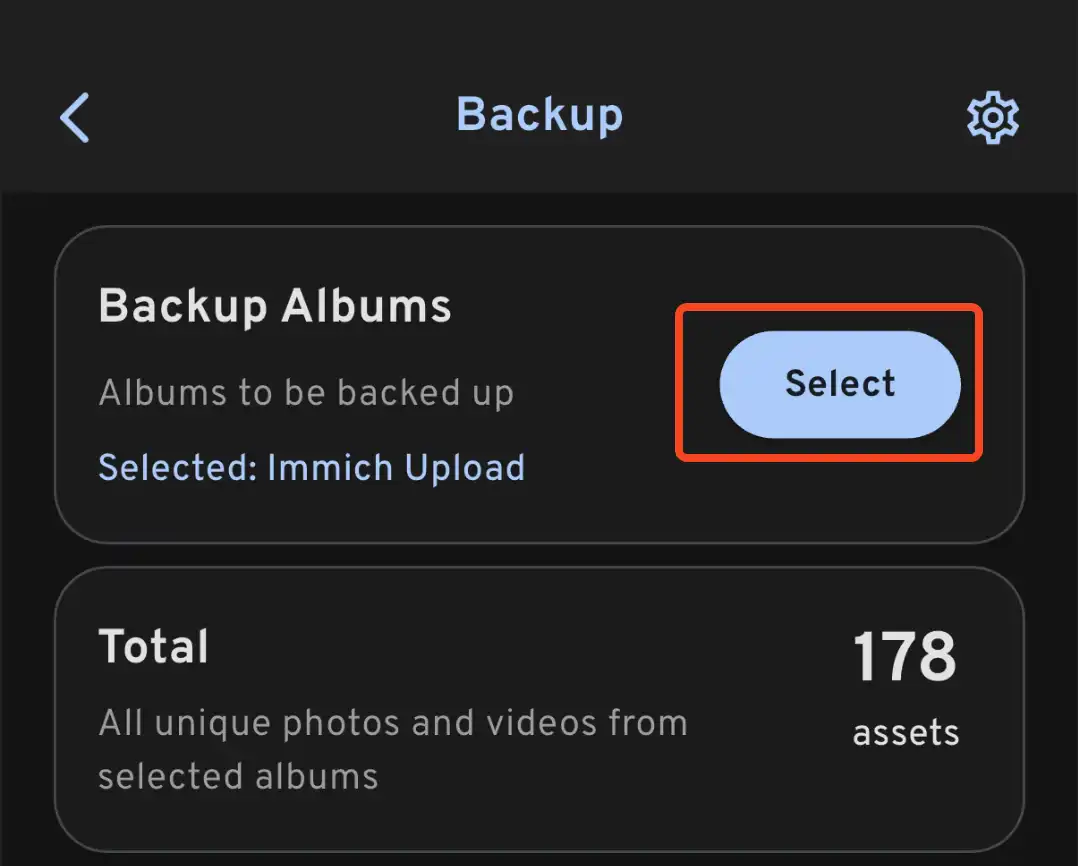
- Navigate to the backup screen by clicking on the cloud icon in the top right corner of the screen.
- You can select which album(s) you want to back up to the Immich server from the backup screen.

- Scroll down to the bottom and press "Start Backup" to start the backup process. This will upload all the assets in the selected albums.
Die Backup-Zeit hängt davon ab, wie viele Fotos sich auf Ihrem Mobilgerät befinden. Große Uploads können eine Weile dauern. Um schnell zu beginnen, können Sie zunächst nur wenige Fotos selektiv hochladen, indem Sie dieser Anleitung folgen.
Sie können den Jobs-Tab auswählen, um zu sehen, wie Immich Ihre Fotos verarbeitet.
Überprüfung des Prozesses für Datenbank-Backup und -Wiederherstellung
Immich bietet integrierte Datenbanksicherung. Weitere Informationen finden Sie unter Datenbank-Backup.
Die Datenbank enthält nur Metadaten und Benutzerinformationen. Sie müssen manuelle Backups der Bilder und Videos einrichten, die im UPLOAD_LOCATION gespeichert sind.
Wie geht es nun weiter?
Vielleicht möchten Sie den Server auf eine andere Weise installieren; die Kategorie „Installieren“ im linken Menü bietet viele Optionen.
Vielleicht möchten Sie den Rest Ihrer Fotos, auch jene, die sich nicht auf Ihrem Mobilgerät befinden, über Google Takeout aus Google Photos hinzufügen. Dazu können Sie immich-go verwenden.
Vielleicht möchten Sie Fotos aus Ihrem eigenen Archiv hochladen.
Vielleicht möchten Sie ein bestehendes Archiv von Fotos aus einer externen Bibliothek integrieren; dafür gibt es eine Anleitung.
Vielleicht möchten Sie, dass Ihr Mobilgerät Fotos automatisch auf Ihren Server sichert.