Inicio rápido
Aquí tienes un camino rápido y sin opciones para instalar Immich y probarlo. Una vez que lo hayas probado, podrías usar una de las muchas otras formas de instalarlo y usarlo.
Requisitos
- Un sistema con al menos 4GB de RAM y 2 núcleos de CPU.
- Docker
Para una lista más detallada de requisitos, consulta la página de requisitos.
Configurar el servidor
Step 1 - Download the required files
Create a directory of your choice (e.g. ./immich-app) to hold the docker-compose.yml and .env files.
mkdir ./immich-app
cd ./immich-app
Download docker-compose.yml and example.env by running the following commands:
wget -O docker-compose.yml https://github.com/immich-app/immich/releases/latest/download/docker-compose.yml
wget -O .env https://github.com/immich-app/immich/releases/latest/download/example.env
You can alternatively download these two files from your browser and move them to the directory that you created, in which case ensure that you rename example.env to .env.
Step 2 - Populate the .env file with custom values
# You can find documentation for all the supported env variables at https://immich.app/docs/install/environment-variables

# The location where your uploaded files are stored
UPLOAD_LOCATION=./library

# The location where your database files are stored. Network shares are not supported for the database
DB_DATA_LOCATION=./postgres

# To set a timezone, uncomment the next line and change Etc/UTC to a TZ identifier from this list: https://en.wikipedia.org/wiki/List_of_tz_database_time_zones#List
# TZ=Etc/UTC

# The Immich version to use. You can pin this to a specific version like "v1.71.0"
IMMICH_VERSION=release

# Connection secret for postgres. You should change it to a random password
# Please use only the characters `A-Za-z0-9`, without special characters or spaces
DB_PASSWORD=postgres

# The values below this line do not need to be changed
###################################################################################
DB_USERNAME=postgres
DB_DATABASE_NAME=immich
- Populate
UPLOAD_LOCATIONwith your preferred location for storing backup assets. It should be a new directory on the server with enough free space. - Consider changing
DB_PASSWORDto a custom value. Postgres is not publicly exposed, so this password is only used for local authentication. To avoid issues with Docker parsing this value, it is best to use only the charactersA-Za-z0-9.pwgenis a handy utility for this. - Set your timezone by uncommenting the
TZ=line. - Populate custom database information if necessary.
Step 3 - Start the containers
From the directory you created in Step 1 (which should now contain your customized docker-compose.yml and .env files), run the following command to start Immich as a background service:
docker compose up -d
Prueba la aplicación web
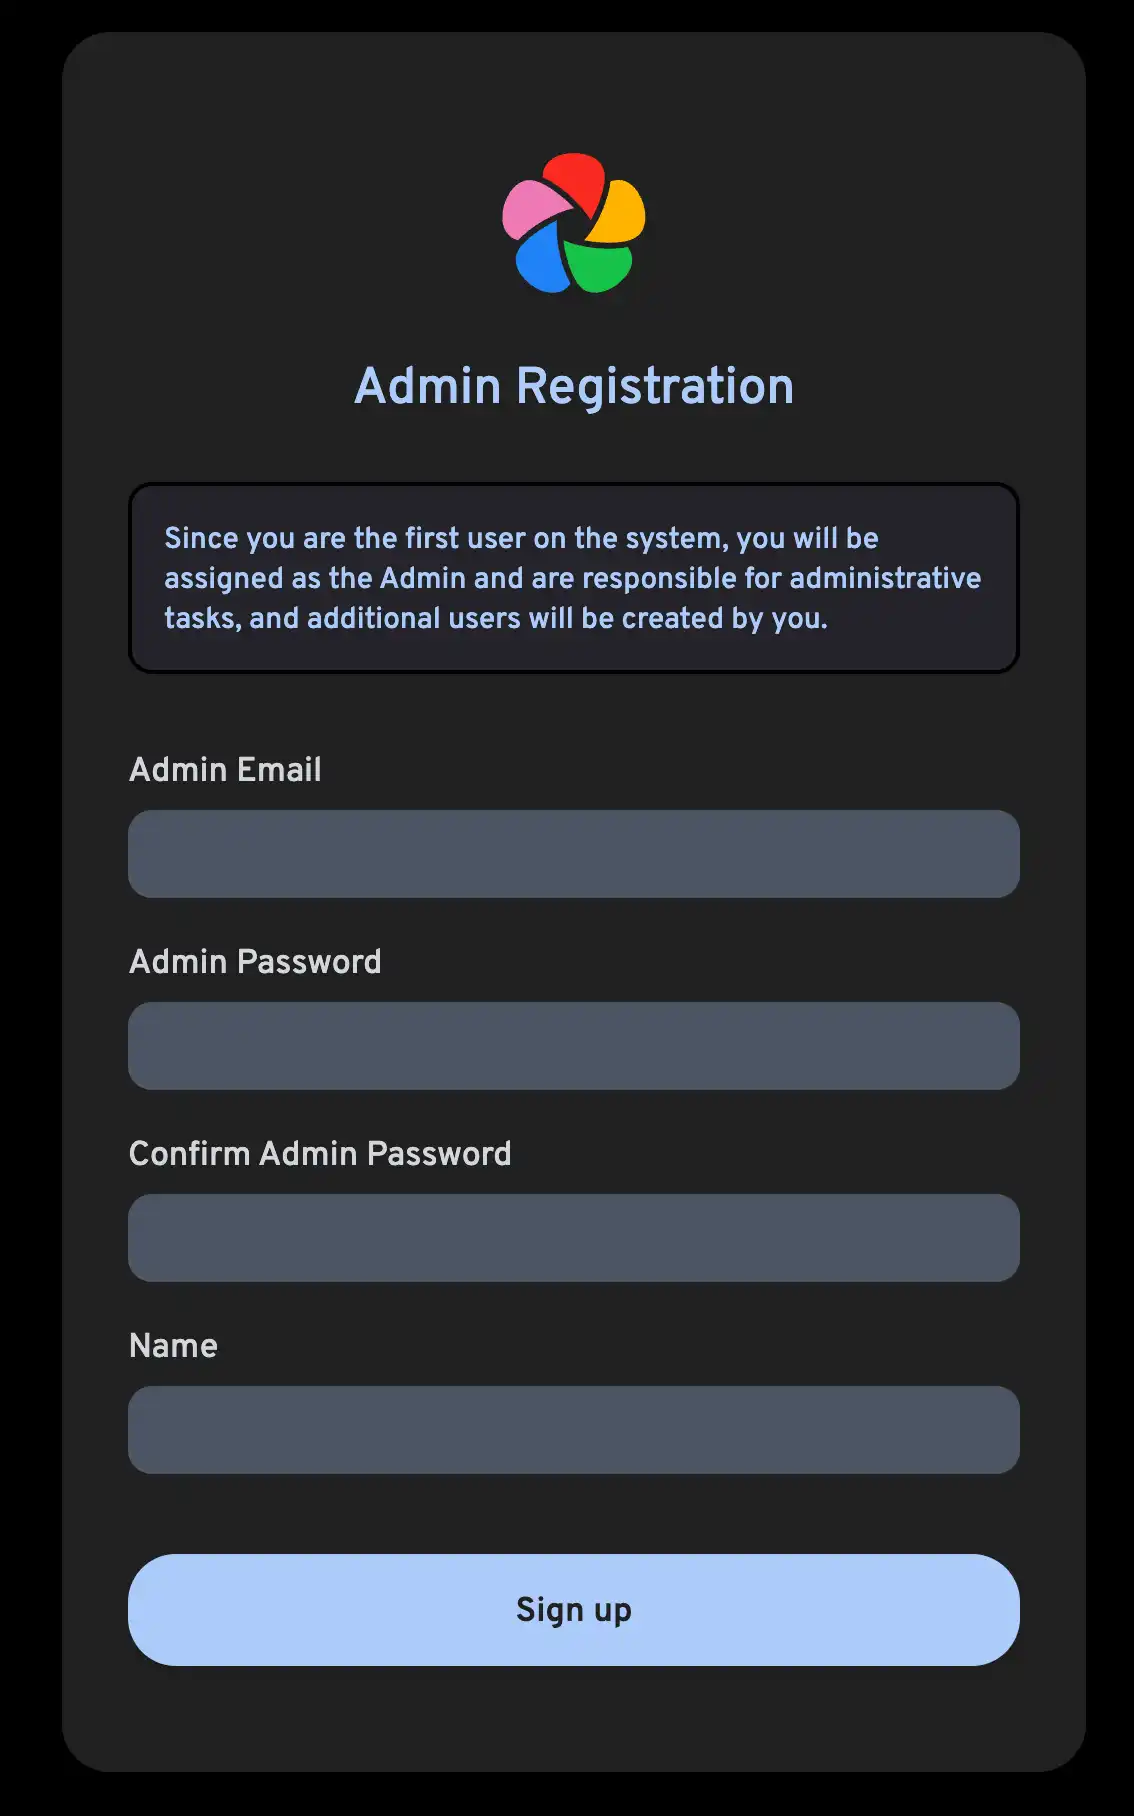
The first user to register will be the admin user. The admin user will be able to add other users to the application.
To register for the admin user, access the web application at http://<machine-ip-address>:2283 and click on the Getting Started button.

Follow the prompts to register as the admin user and log in to the application.
Intenta subir una foto desde tu navegador.
Prueba la aplicación móvil
Descargar la aplicación móvil
The mobile app can be downloaded from the following places:
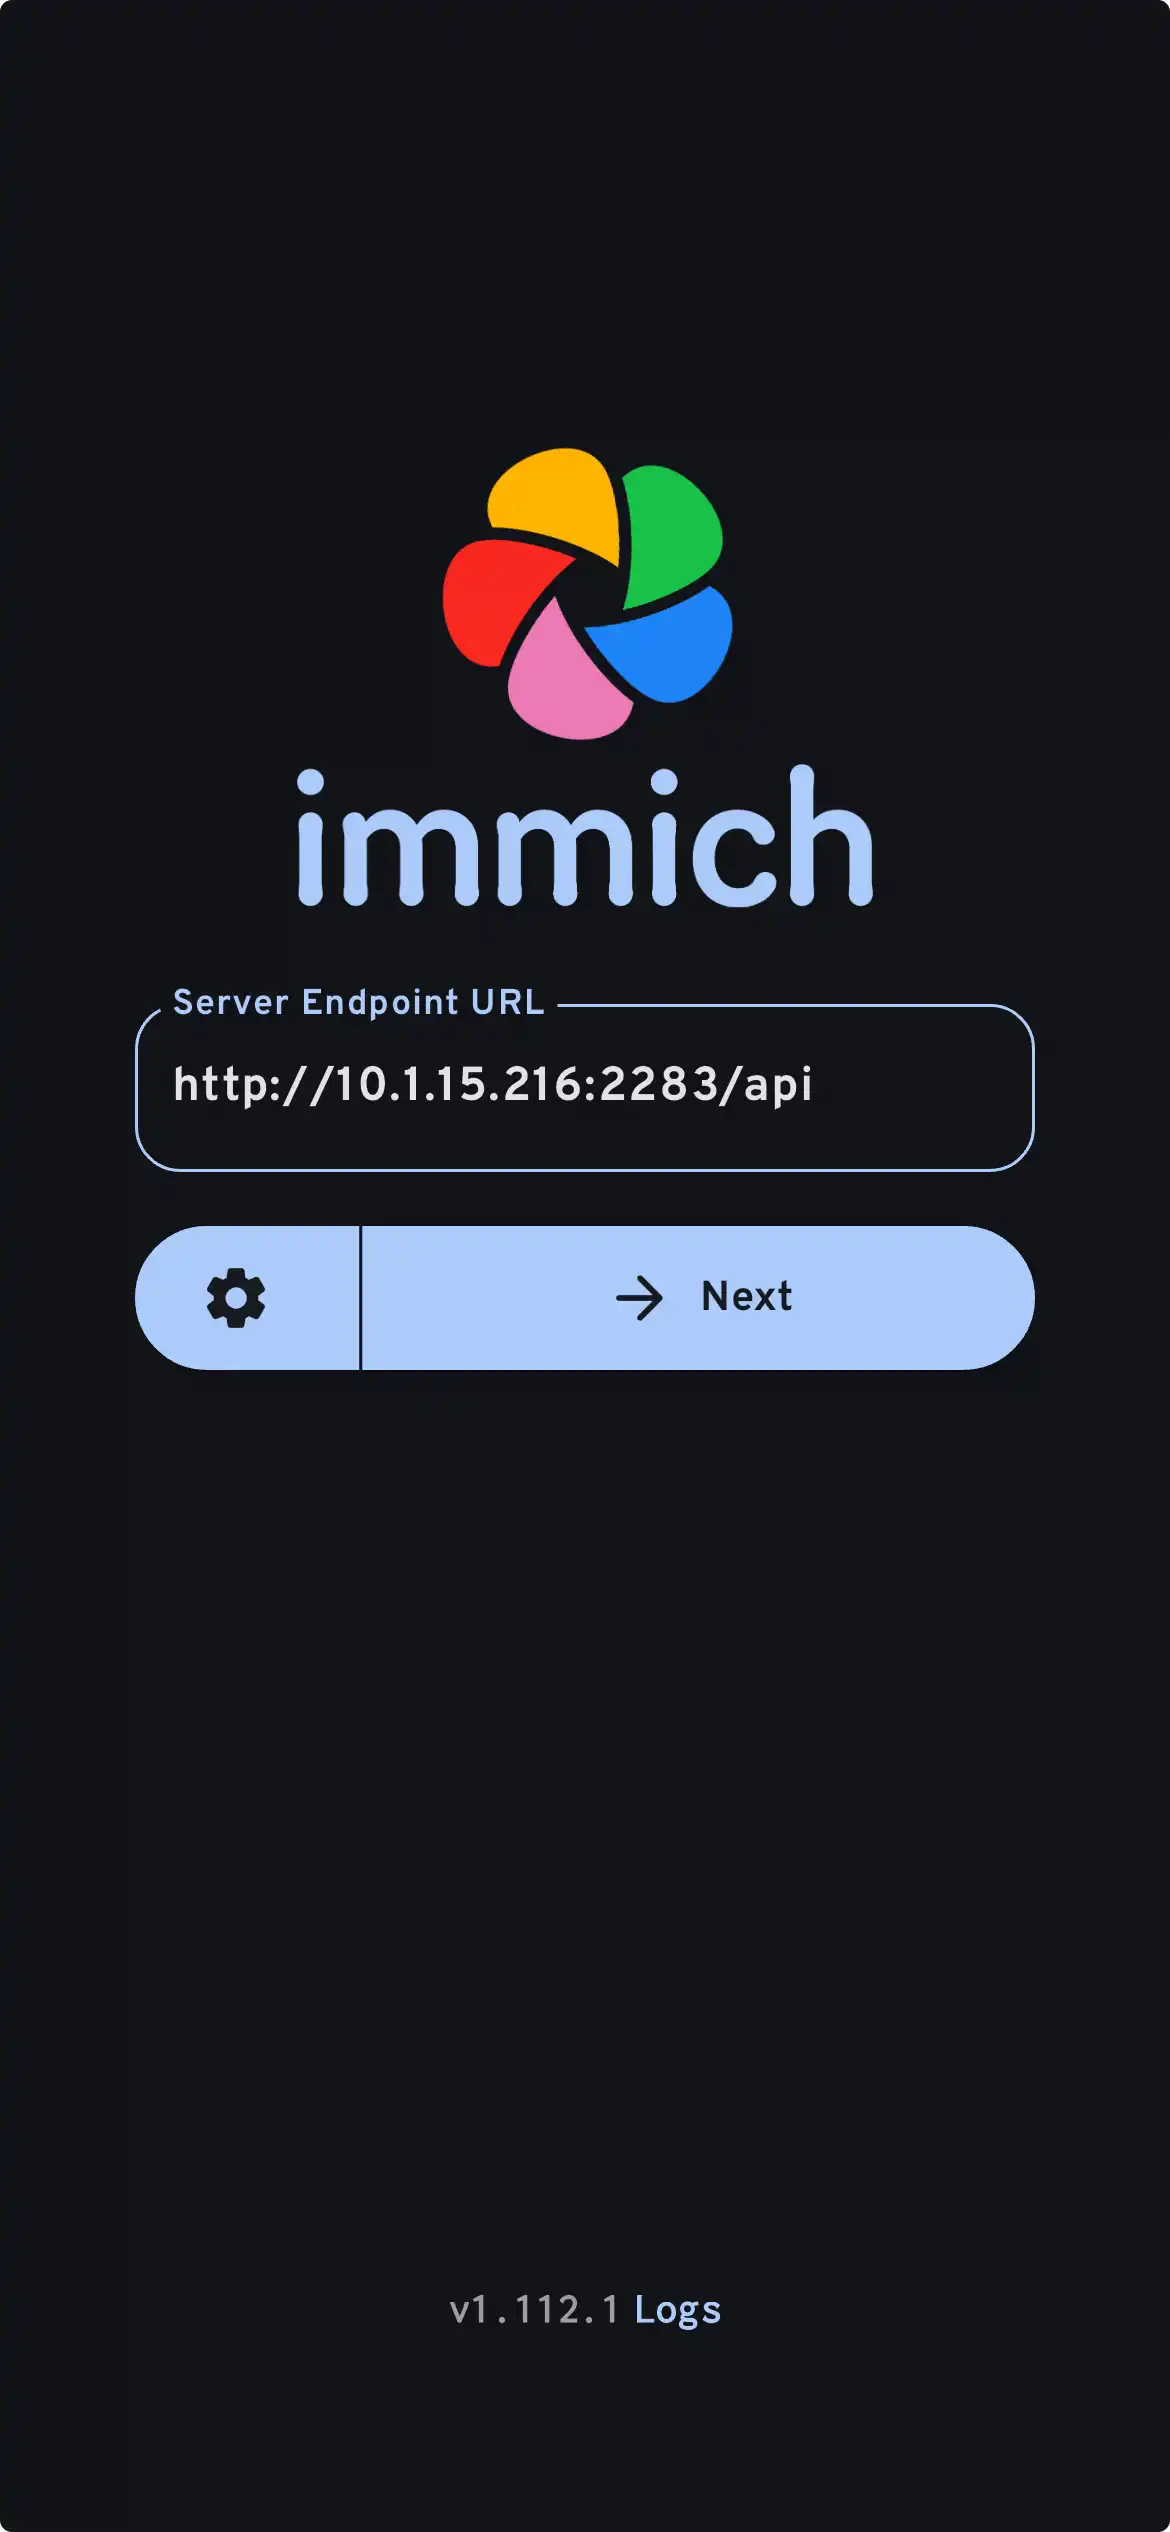
Iniciar sesión en la aplicación móvil
Login to the mobile app with the server endpoint URL at http://<machine-ip-address>:2283

En la aplicación móvil, deberías ver la foto que subiste desde la interfaz web.
Transferir fotos desde tu dispositivo móvil
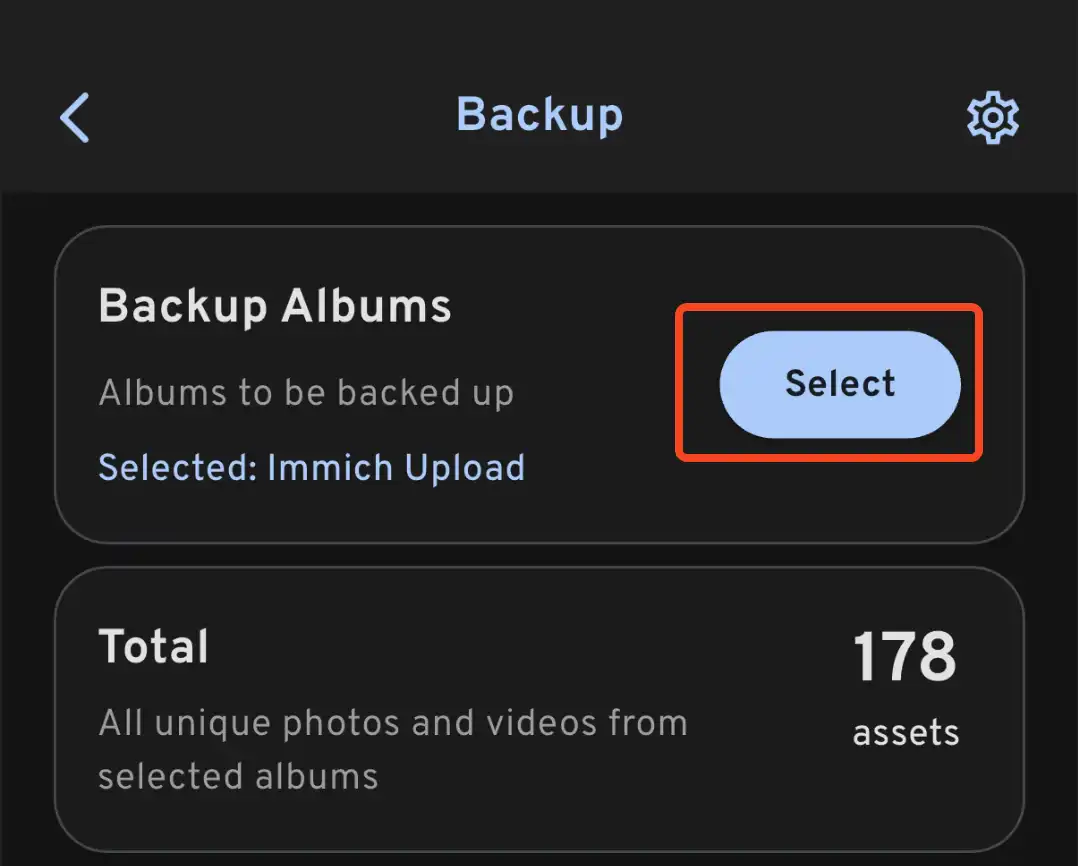
- Navigate to the backup screen by clicking on the cloud icon in the top right corner of the screen.
- You can select which album(s) you want to back up to the Immich server from the backup screen.

- Scroll down to the bottom and press "Start Backup" to start the backup process. This will upload all the assets in the selected albums.
El tiempo de respaldo varía dependiendo de cuántas fotos tienes en tu dispositivo móvil. Subidas grandes pueden tomar bastante tiempo. Para empezar rápidamente, puedes subir selectivamente unas pocas fotos primero, siguiendo esta guía.
Puedes seleccionar la pestaña Jobs para ver cómo Immich procesa tus fotos.
Revisar el proceso de respaldo y restauración de la base de datos
Immich tiene respaldos integrados de la base de datos. Puedes consultar la copia de seguridad de la base de datos para más información.
La base de datos solo contiene metadatos e información del usuario. Debes configurar copias de seguridad manuales de las imágenes y videos almacenados en UPLOAD_LOCATION.
¿Dónde ir desde aquí?
Puedes decidir que te gustaría instalar el servidor de otra manera; la categoría Instalar en el menú izquierdo ofrece muchas opciones.
Puedes decidir que te gustaría agregar el resto de tus fotos desde Google Photos, incluso aquellas que no están en tu dispositivo móvil, a través de Google Takeout. Puedes usar immich-go para esto.
Quizás quieras subir fotos desde tu propio archivo.
Quizás quieras incorporar un archivo de fotos preexistente desde una Biblioteca Externa; hay una guía para eso.
Quizás quieras que tu dispositivo móvil respalde fotos automáticamente en tu servidor.